Here is how to make a binding using the backing fabric and folding to the front, but at the same time, having some lovely sewn mitered corners.
1. Begin with cutting the backing edges 2x the size of binding you want on the front. In this case, the client wanted a half inch of the back fabric showing on the front, so I cut 1" from the front fabric. In this case, it was a jean quilt, but this method could work for a two sided table cloth, a table runner, or any number of things.
2. Fold each side so the raw edge of the back fabric touches the raw edge of the front. Pin or clip in place.
3. Repeat for all sides.
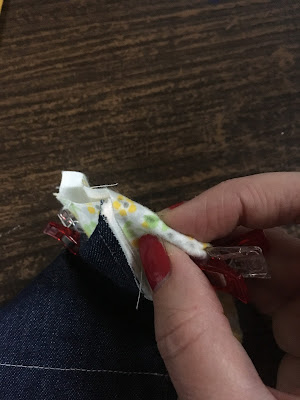
4. Fold a corner at a 45 degree angle and pin or clip in place.
5. As you can see in the picture above, the two edges will match up.
6a. Fold the back edge at a 45 degree angle from the edge which will also make the extra back fabric be perpendicular to the raw edge line where the front and back fabrics meet.
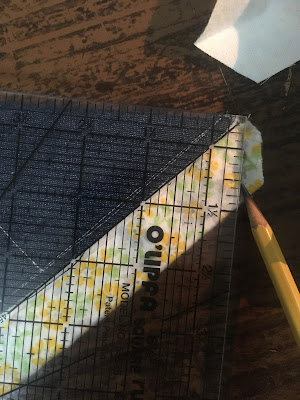
6b. Another way to mark that line is using a square ruler, lining up one side with the front folded edge and lining up the raw edges with the 45 degree line on the ruler, then marking on the other side.
7. Mark a line along that folded edge. That will be your sew line.
8. You are ready to sew.
9. Sew carefully along that line.
10. Trim leftover 1/4" from the sew line.
11. Clip the corner to remove the bulk. Repeat steps 4-11 for each corner.
12. Fold the entire binding to the front one more time to hide all raw edges.
13. Sew close to the folded edge around entire perimeter and you're done.


No comments:
Post a Comment