You know the old saying, "There's more than one way to skin a cat." Well, the same holds true for tying a quilt. "There's more than one way to tie a quilt" and I would like to share with you one of my favorites. "Why is it my favorite?" you may ask. Well, being lazy by nature, I don't like the tie and cut, tie and cut, tie and cut method because I don't like having to set down and pick up my scissors that often. I like to do one thing for a while and then go on to the next.
The problem I have with the method of taking all the stitches, cutting between each of them, and then tying them (though I prefer that to the first method above), is that I invariably forget to tie one and it gets pulled out by a child. In this method, you tie as you go.

1. Start by taking a stitch and pull the yarn/floss or whatever you like to use a few inches from the end.

2. Tie a square knot. Remember that each time you tie a knot, it should be a square not and you need to pull equally from both sides.

3. Move to the next place and take a stitch.
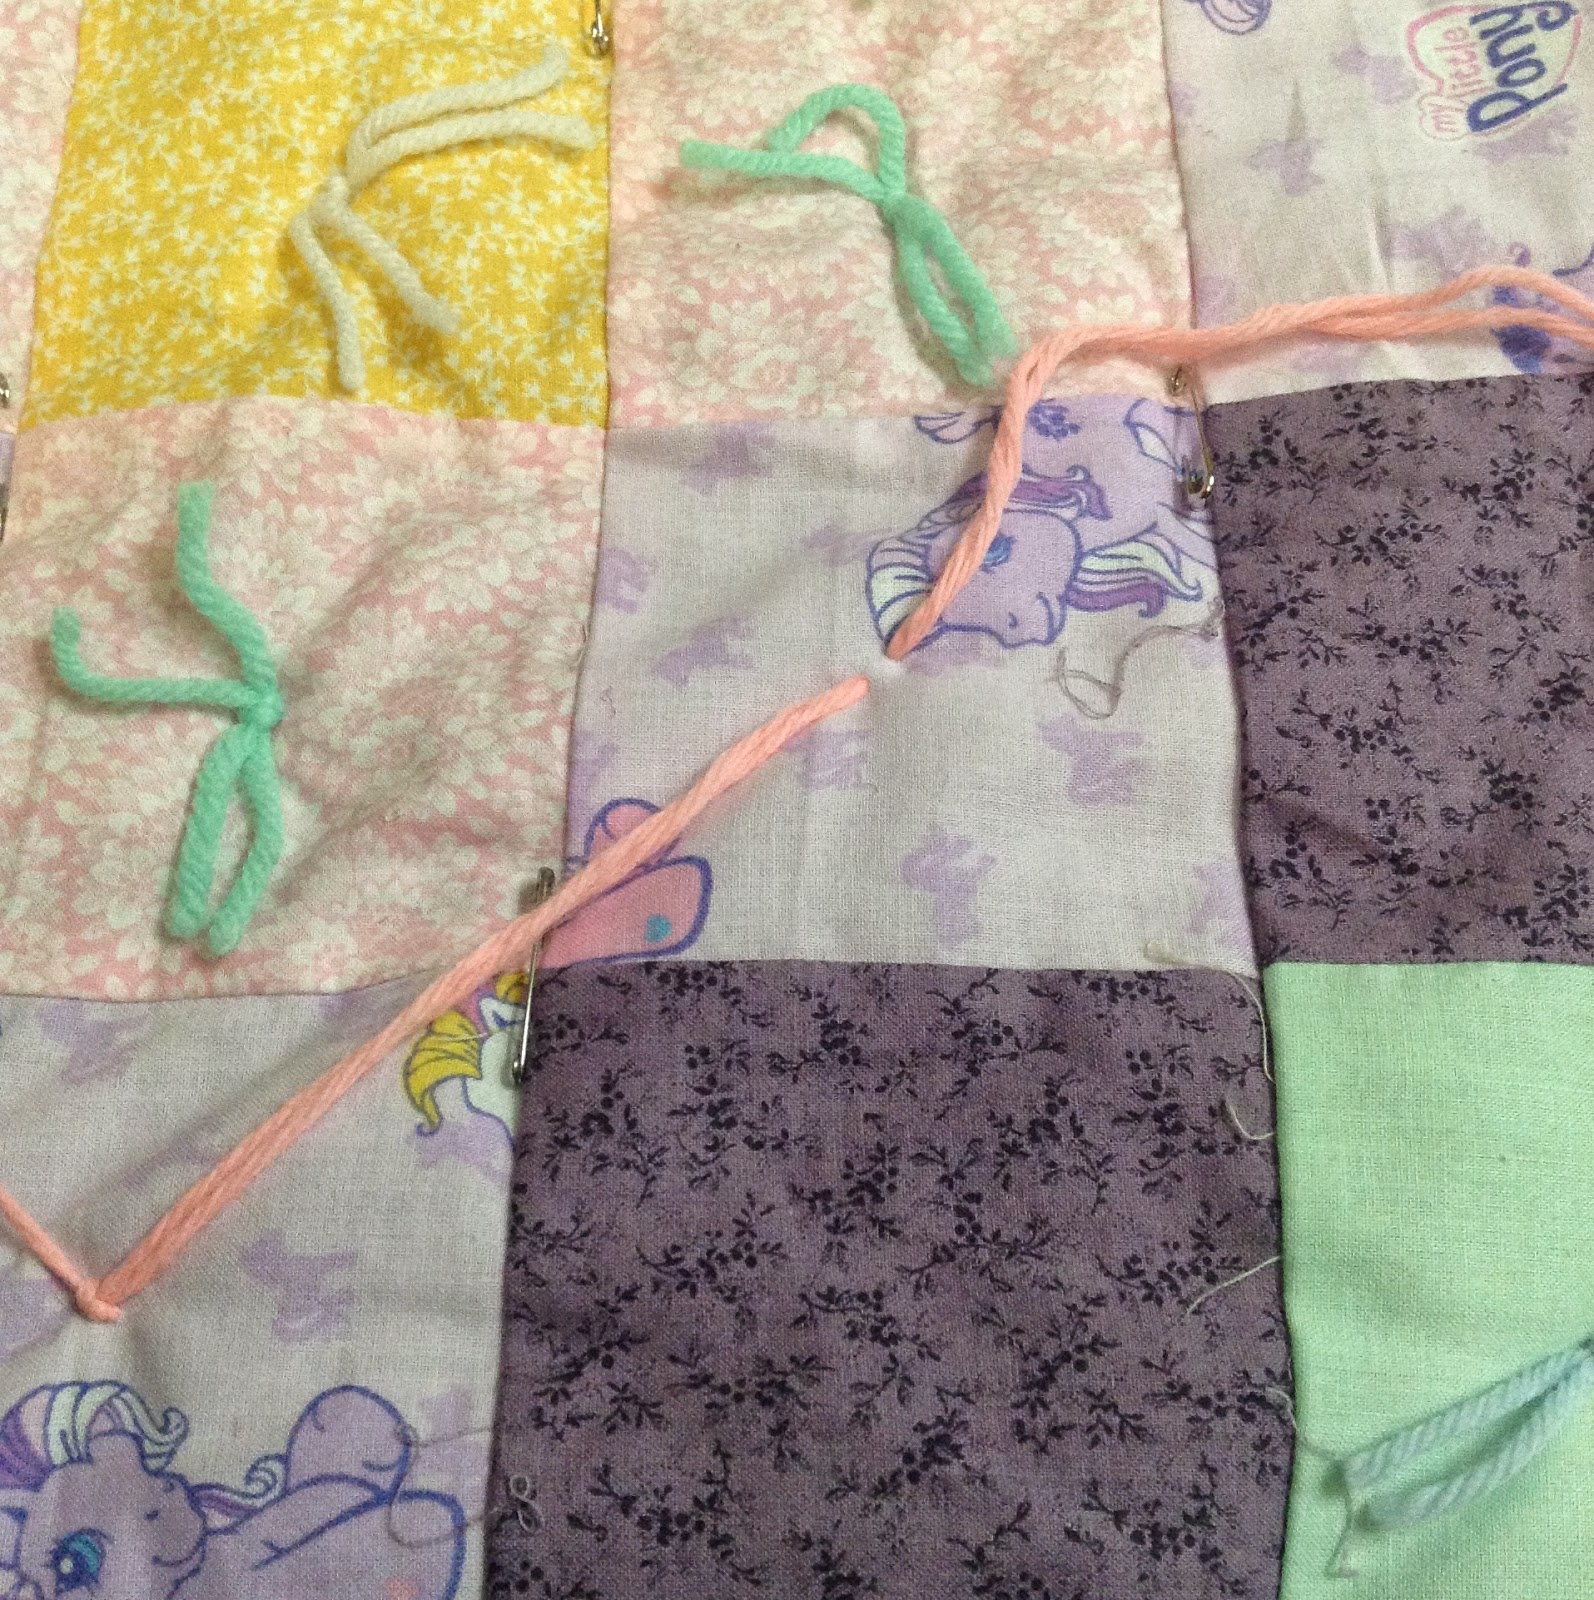 4. Pull taut.

5. Tie the knot as follows:
Circle the yarn up and to the left.
Come under the taut line and over your circle.

6. Pull the first part of the knot tight. Though I don't show it (because my hand got in the way of me taking the picture), tighten the knot by pulling on both the needle end as well as the taut end.

7. Finish tying the knot:
Next circle the yarn down to the right (opposite the direction you went before).
Go under the taut string, and over the circle.
Think as you tie: "Circle Left, Under, Over. Circle Right, Under, Over."

8. Pull the knot tight. Remember to pull the yarn equally on both side of the knot.

9. Continue until you run out of yarn to tie a knot. Then Cut halfway between each knot and trim to the desired length.
The problem I have with the method of taking all the stitches, cutting between each of them, and then tying them (though I prefer that to the first method above), is that I invariably forget to tie one and it gets pulled out by a child. In this method, you tie as you go.
1. Start by taking a stitch and pull the yarn/floss or whatever you like to use a few inches from the end.
2. Tie a square knot. Remember that each time you tie a knot, it should be a square not and you need to pull equally from both sides.
3. Move to the next place and take a stitch.
5. Tie the knot as follows:
Circle the yarn up and to the left.
Come under the taut line and over your circle.
6. Pull the first part of the knot tight. Though I don't show it (because my hand got in the way of me taking the picture), tighten the knot by pulling on both the needle end as well as the taut end.
7. Finish tying the knot:
Next circle the yarn down to the right (opposite the direction you went before).
Go under the taut string, and over the circle.
Think as you tie: "Circle Left, Under, Over. Circle Right, Under, Over."
8. Pull the knot tight. Remember to pull the yarn equally on both side of the knot.
9. Continue until you run out of yarn to tie a knot. Then Cut halfway between each knot and trim to the desired length.
No comments:
Post a Comment