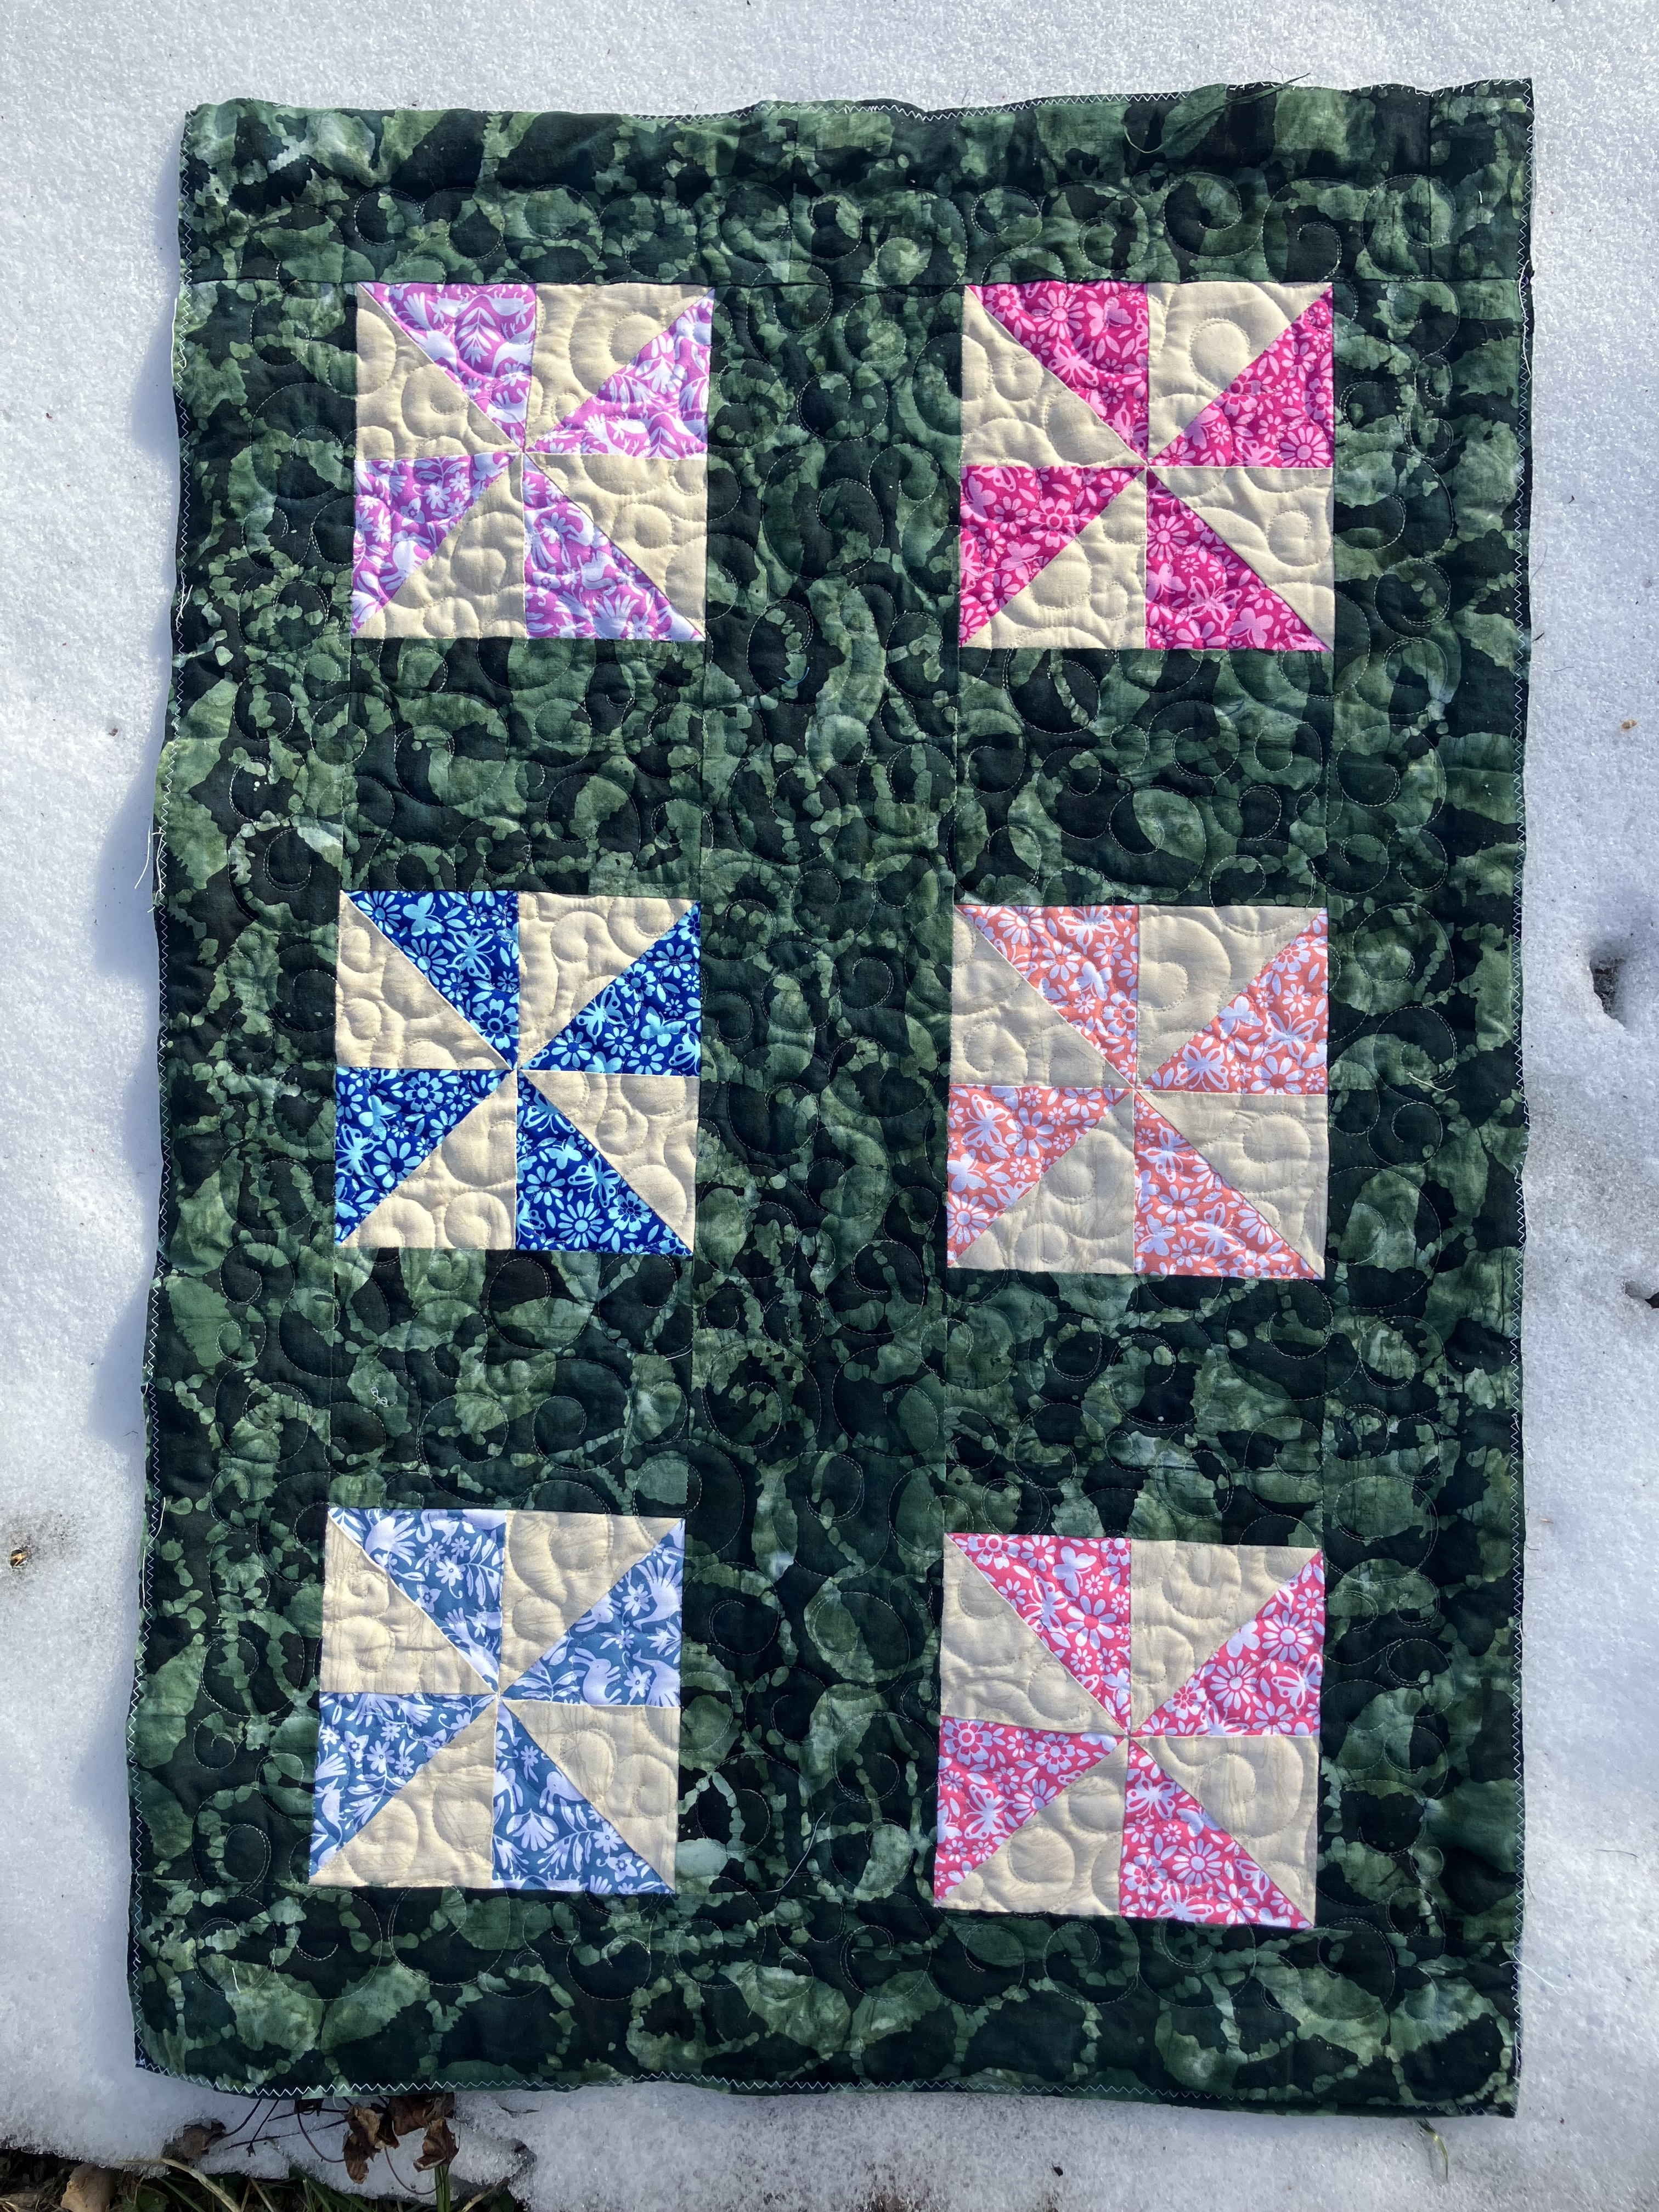
Tutorial - Beautiful Mitered Binding by Machine. Sewn first to back and topstitched on front.
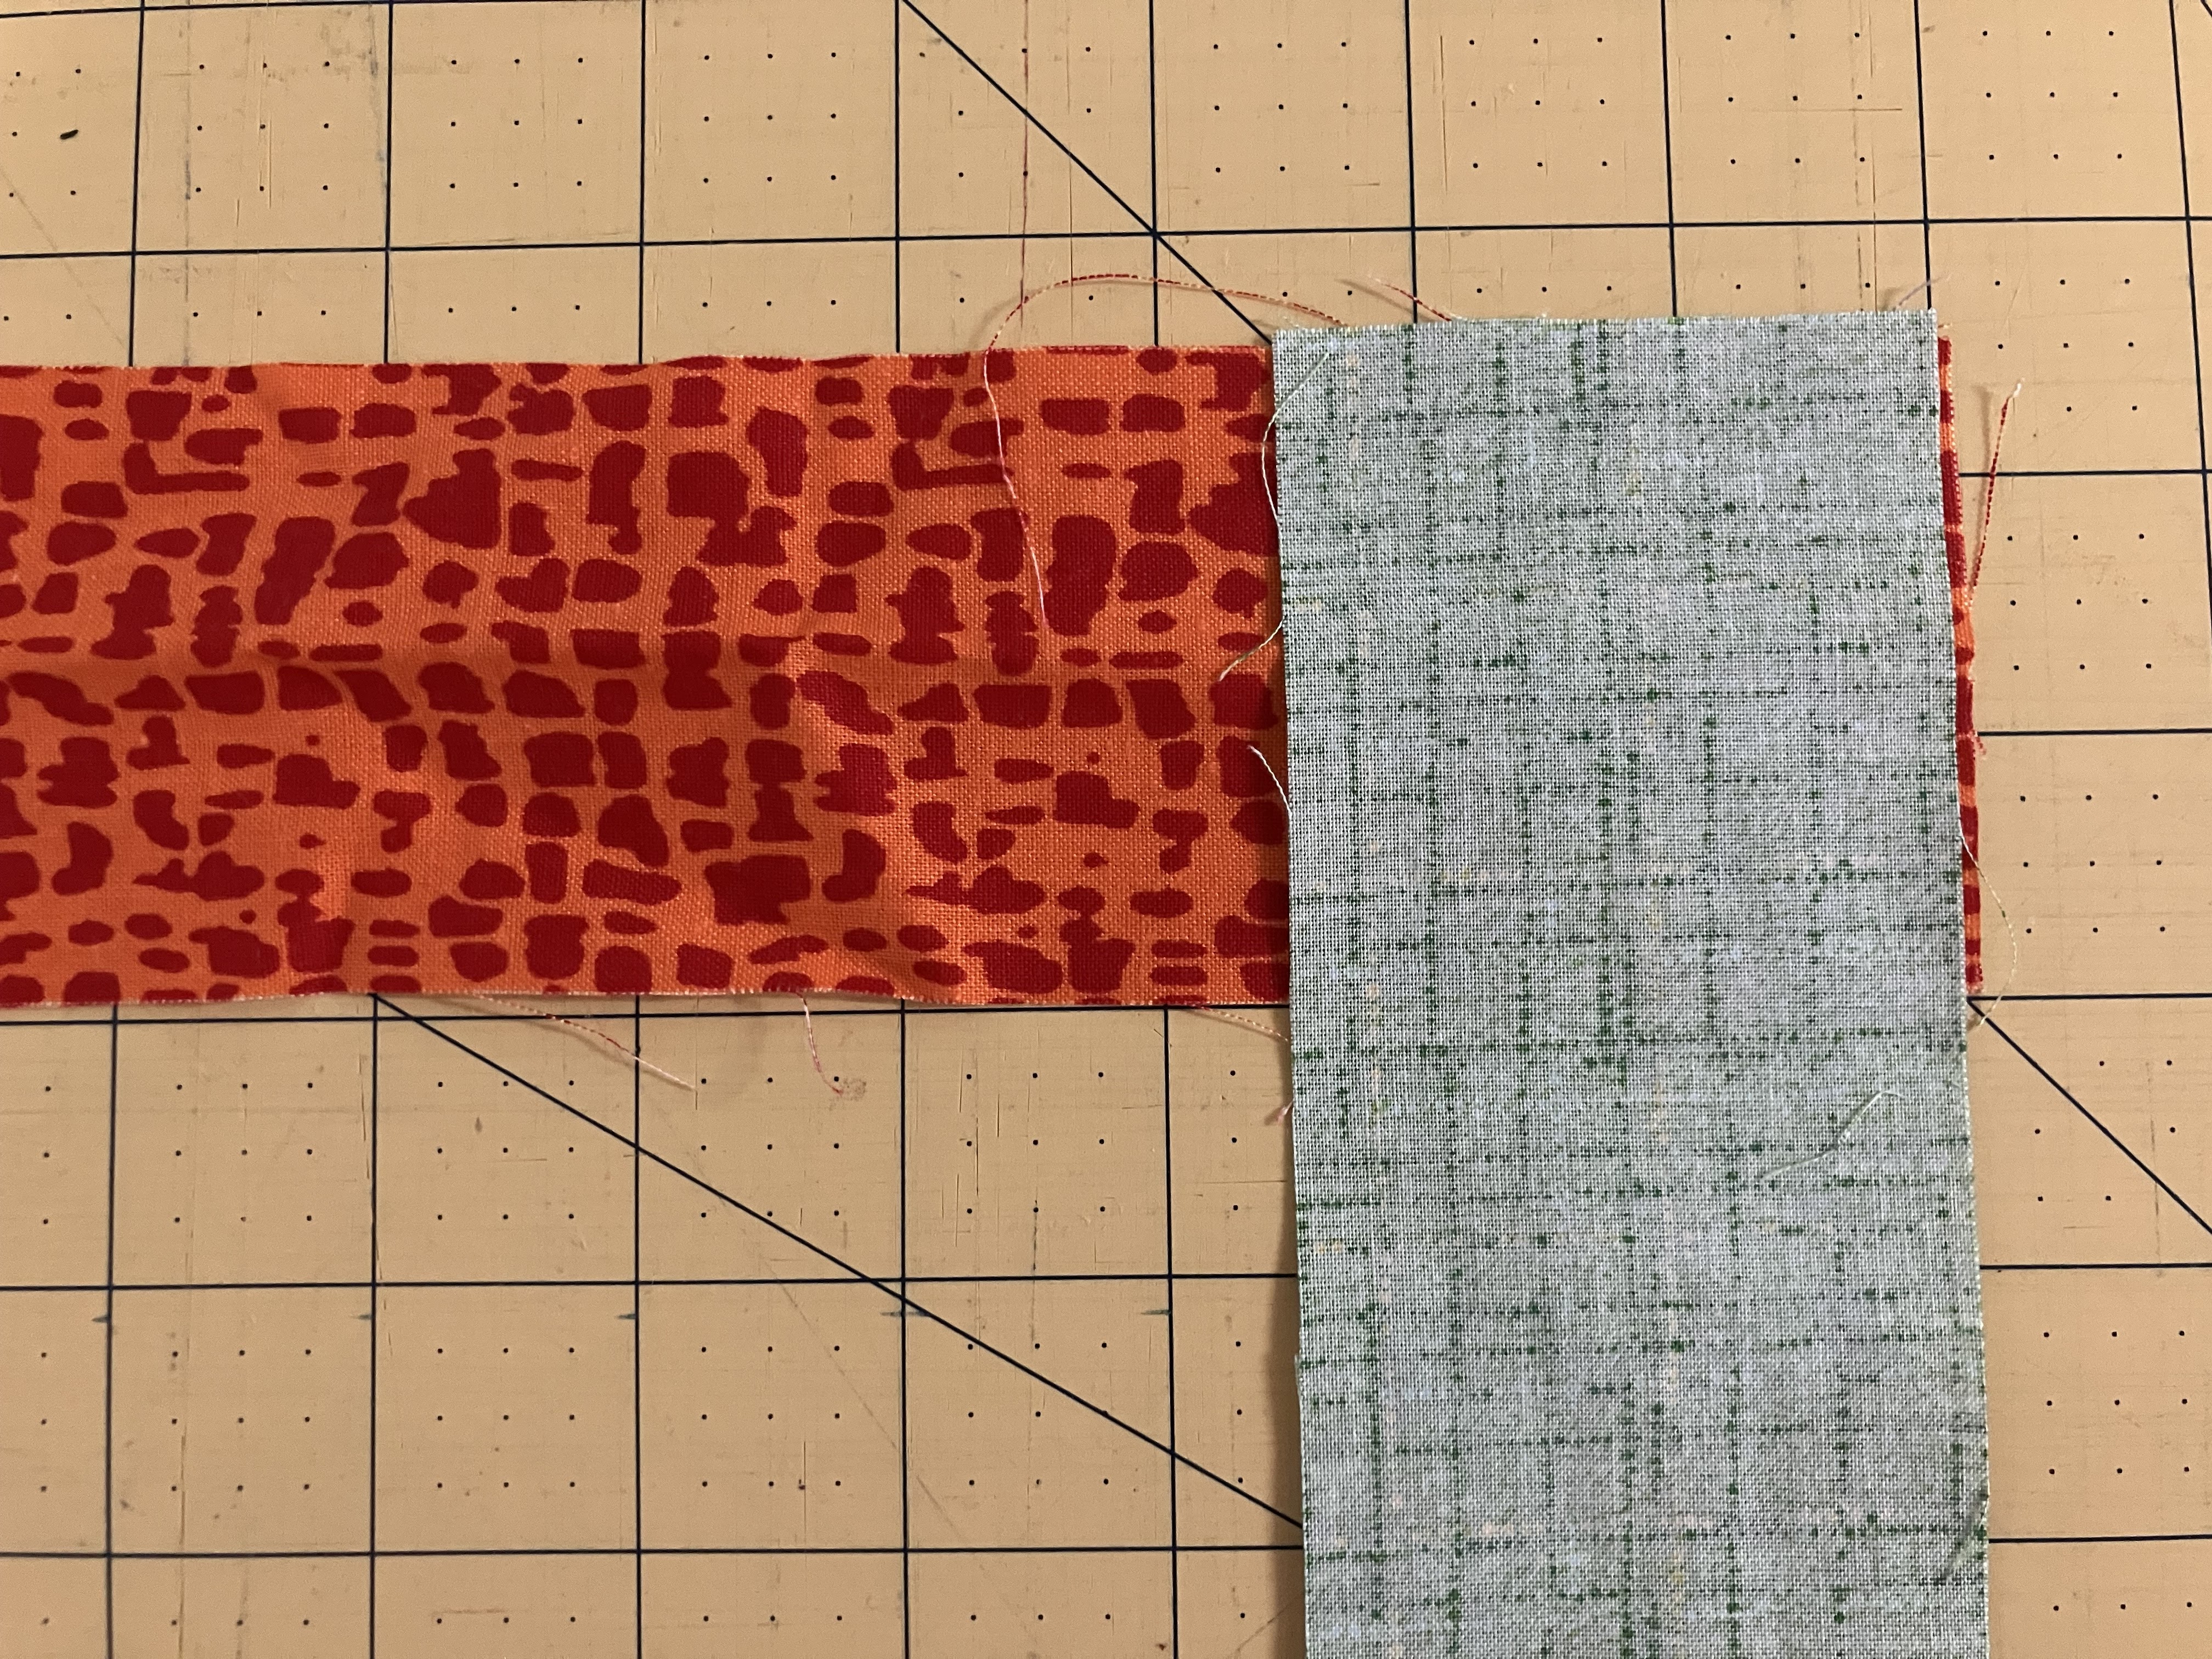
First you will cut strips for binding. Anywhere from 2"-2.5" are favorite choices, and everyone has their own preference. Mine is 2.5" but I have done 2", 2-1/8" and 2-1/4 as well. I like 2-1/2 because it is an easy size strip to fine with jelly rolls and my seam allowance matches up perfectly with the foot on my machine. You will then lay the strips perpendicular to each other and sew on the diagonal.

Some find it helpful to line up the strips on the cutting mat to ensure they are indeed perpendicular, then pin to the side of the sewing line. Some draw a line and sew on the line.

For me, I have a piece of painter's tape lined up with where my needle is sewing, so I just keep that corner intersection lined up with my painter's tape as I sew, ensuring a straight line without having to mark.

But if marking is what works for you, go for it. Sew diagonally, but remember this is a bias seam, so take care not to stretch it.

When you open it up, it should be straight. If it's wonky or the edges don't line up, you will need to unpick and redo. Don't worry, anyone who has perfected this has had to unpick many times until they learned the trick.

Cut 1/4" from the sewn line, either with your rotary cutter or scissors. Trim any overhanging fabric.
Press the seam OPEN, either with your finger or an iron. (Sorry, no photo, but you know how to do that.)
Some people prefer to fold in half lengthwise and press either at the very beginning after cutting the strips or now. I on the other hand prefer to fold it as I go. I feel I do a better job lining up all the raw edges that way. Whatever works for you. Then I roll the binding up on my hand until I'm ready to sew it on.
(Yes, this roll of binding was the leftover from another quilt that I sewed with the leftover from this quilt to show you how to join the strips. The process is the same, though.) Now we're ready to sew.

I like to have my start/stop jointure somewhere in the middle of a side. Since turning the corners are the most awkward part, I don't want that jointure too close to a corner. I also like to make sure that the diagonal seams in the binding do not land at a corner - that's too much bulk. So I pick what I think might be a good place, pin the binding at that point, then quickly run the binding around, making sure there are no seams too close to a corner. Adjust if necessary and you're ready to start. I also like to put a pin at the place I need to stop sewing (4"-8" from the beginning of the binding tail).
Leave a tail of binding of no less than 4" (I prefer closer to 8" or more so I have plenty of room when it comes to joining the beginning and the end together) before your starting point. Begin sewing the binding to the BACK of the quilt. I use a scant 3/8" seam allowance.

As you approach the corner, you can mark your turning point with chalk, a pin, or eyeball it. For me, I stop close to where I think it is.

With the needle down, I turn the quilt and see if I'm in the correct spot. Do I need to take another stitch or did I take one stitch too many? If I overshot by a stitch, I can gently turn the wheel on my sewing machine backwards, enough to raise the needle and undo the last part of the stitch. Then gently slide the quilt over to be in the correct spot and lower the needle again. Sometimes that's back one stitch, sometimes it's half a stitch, but now you are exactly where you are supposed to be. Either backstitch a little or pivot and sew a diagonal line to the corner (off the quilt).

Now move your quilt a little away from the the foot so you can fold the binding up away from you, then straight down towards you. You will have a diagonal fold from the corner, the folded edges of the binding will line up and there will be a fold that lines up with the raw edge of the quilt farthest from you with the binding raw edge lining up with the right-hand side you are about to sew next.

You can now sew, either starting off the quilt, or exactly where you stopped and backstitched. I've seen people swear by both methods, and both seem to work equally well. Continue all the way around until you come to your first side again. Stop somewhere from 4"-8" from where the edge of the binding starts. (Again, I like to give myself plenty of room). Luckily I have a pin reminding myself where to stop. Yes, I've tried it without, and yes, I've sewn further than I should have and had to unpick.

I have tried this many ways, like, cutting the edges at a diagonal and then finding that I cut it too short and having to add a little 1" piece in or other fun mistakes. This is what works best for my brain, and since starting this way, make very few mistakes.

Whatever the width of your binding, that is the amount of overlap you need. Mine is 2.5" so I overlap 2-1/2" and cut.

Oh, good. I did it right.

To avoid getting the binding sewn in a twist, I fold the binding at a 45 degree angle on one side, lay the other on top, then pin or hold them together so I sew them the right way. Again, you could mark, pin, or whatever helps you sew it correctly.

Then sew at the diagonal, the same way as sewing the binding strips together. (Please ignore that wrinkle in the strip on top. I keep thinking it's a line I drew, but it's not. Plus it's more noticeable in the picture than it was in real life.)
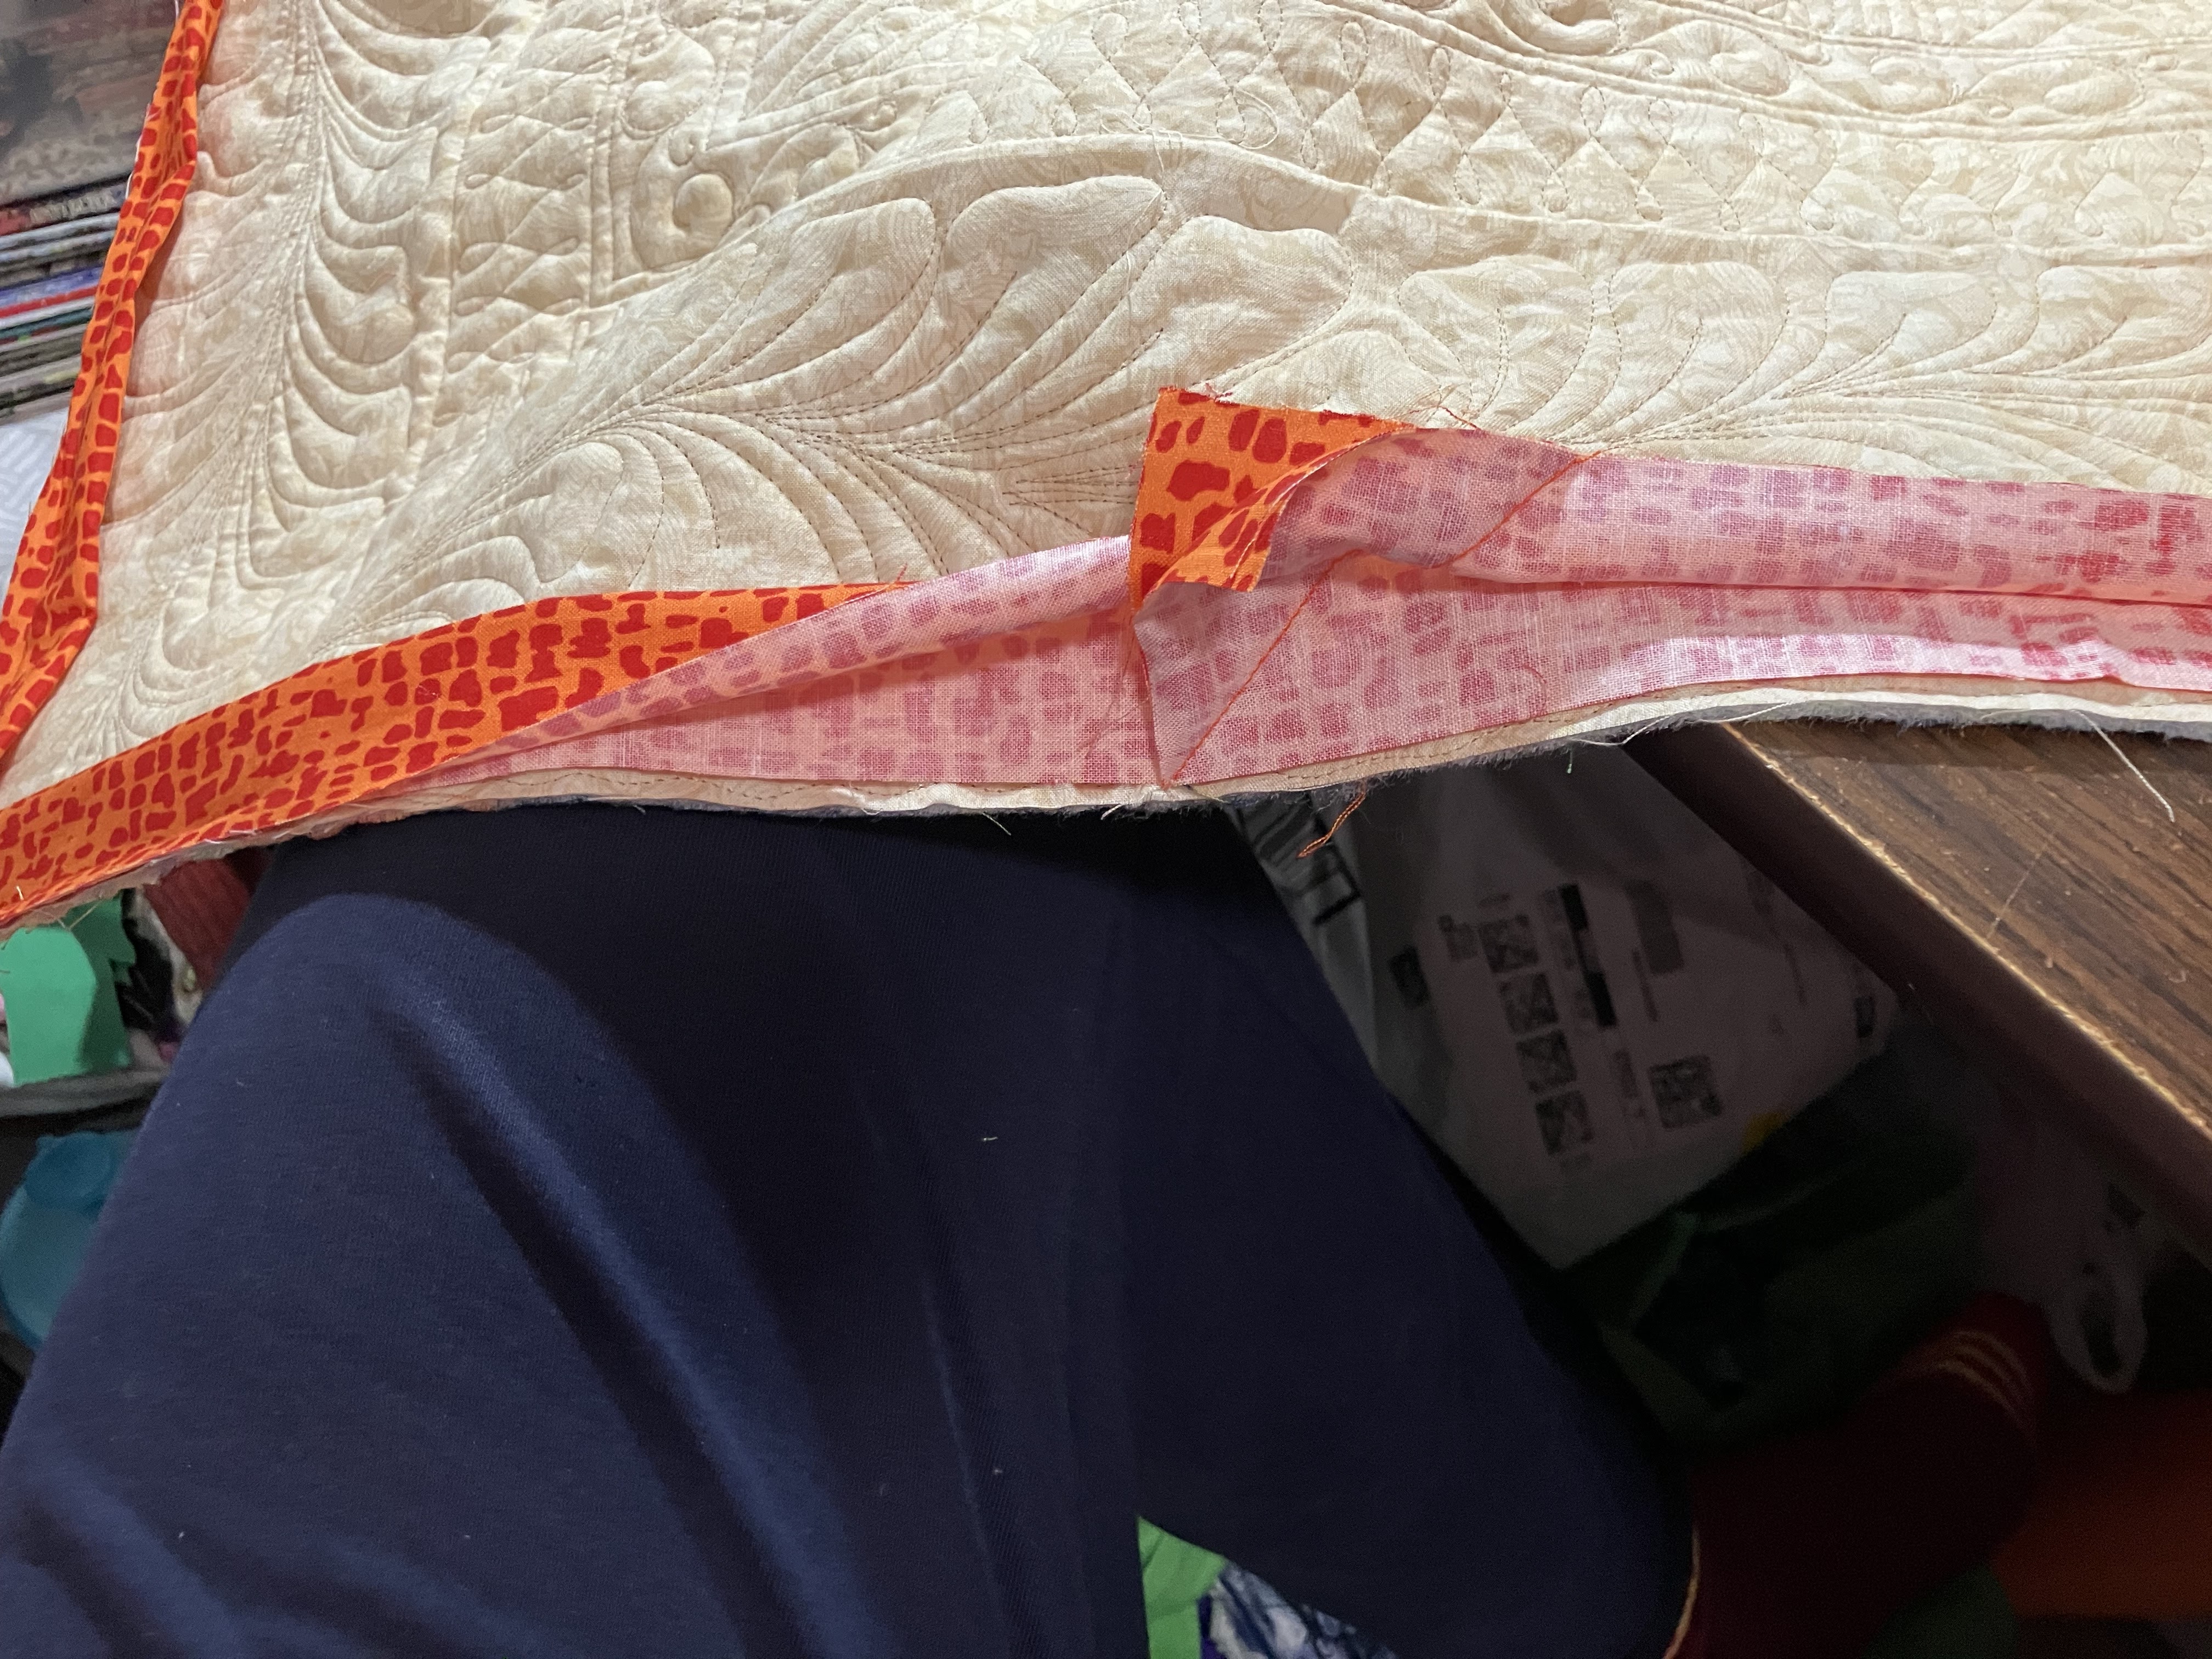
Straighten it out and make sure it is the correct length. Whew! It's good. If it's not, now's the time to fix it before cutting anything off.

Now trim 1/4" from the seam and press open. Finger pressing works just fine.

And finish sewing the binding to the back.

Again, starting somewhere in the middle of one of the 4 sides, I bring the folded edge of the binding to the front and topstitch it down, nice and close (1/8" or less) to the folded edge.

As I approach the corner, I want to fold the edge closest to me all the way into the corner so there is a nice mitered fold in the corner. It is important that the extra binding in the fold be opposite to the extra binding on the back side of the quilt so when you feel the corner, it feels as flat as possible. That is why the bottom edge gets folded up first. Try folding it the other way and feel the difference.

Now keeping those edges folded just so, sew down. If you need pins or clips or some means to help you hold it, do it.

Sew to the point where your needle is into the corner line of the miter, for me it's about 1 stitch onto the binding nearest me.

With the needle down, pivot. You should be lined up in the right place for sewing. If not, do you need to take another stitch or go back a stitch? Same method as before.

Keep going until you finish. As I sew, my needle is just to the left of the orange seam that sewed the binding to the back.

From the front.

The back. If I had wanted to hide my stitching on the back, I would choose a bobbin thread that matched the back better - a nice cream, or even white would have been less visible (but then you couldn't have seen it as well in the tutorial). And you're done!