Pricing

Long Arm Quilting/ Sewing or Quilting Lessons / Custom Made Items
I am a long arm quilter with rates starting at $.018/square inch. Most edge to edge designs are $.021/square inch. My prices include set up, thread, needles, etc. I make commissioned quilts with rates at $20/hour.
I also teach Private Sewing Lessons in the St. Louis area. Cost is $50/hour.
Please e-mail me with any questions, to have your quilt top quilted, to set up sewing lessons, or regarding having something custom made, at showmesewing@gmail.com.


Saturday, September 2, 2023

Dorothy's Cardinals/Royals Baby Quilt


Dorothy made this fabulous baby quilt for a new nephew. One of his parents is from St. Louis, and one is from Kansas City, so she had to make a Cardinals/Royals baby quilt. (Thank goodness it's not 1985 World Series time!)


I quilted this with Glide Candy Apple Red on the top and Glide 60 Candy Apple on the back using the Hall of Mirrors pantograph from Urban Elementz.


Of course, if the child is smart, he will be a Cardinals fan. Hahaha! Fun scrappy back.


Friday, September 1, 2023

Two Insulated Table Runners for Jenny


Two table runners commissioned by Jenny. One is for her table, one is for a counter/buffet. The fabric is from Spoonflower, the colors are Sage and Mustard. Both are reversible with the checked on one side (above) and the solid on the other (below). Both have a layer of Insul-Bright and a layer of 100% cotton batting to make them withstand heat and protect the table.
 

The quilting on the sage, is ruler work to keep the curves as consistently even as possible. 


The quilting on the mustard is free-motion.

Monday, February 20, 2023

Adam & Jen's 25th Anniversary Wedding Ring Quilt


I don't know how I missed posting this quilt. I only discovered the error when I went looking for it just now. I made this before I had my longarm, and was trying to make quilts with shortcuts. This type of wedding ring quilt is made on my home sewing machine with the method from "Rings That Bind" by Cheryl Phillips and Linda Pysto.


My friends that received the quilt were celebrating their 25th wedding anniversary. I know I had consulted a little with Adam on the name for the quilt, but Jen knew nothing about it. They stopped by before we went out to dinner and I had been busy sewing another quilt top in the living room. They kindly asked what I was working on. I showed them and said that I had just finished one if they wanted to see it. Sure! I showed them this and they oohed and aaahed over it. They have a collection of blue and white china, so they really liked the motif. I flipped the corner for Jen to read the quilt label saying it was for them. Shock, elation and emotion is all I can say.


We went out to take some pictures. It was a little dark and I think it might have been a little wet out there. Each of the photos below have a dark spot, all in the same place which must have been on the lens. I quilted the patterns using the design printed on the paper, sewing through the paper and then peeling it off. I also did some with the same method only with press and seal. I was grateful for a way that made this possible, but am even more grateful to have my longarm now.


I have noticed that all of the pictures of the quilting have a gray dot on them. This was a raindrop on the lens, not a spot on the quilt.


Saturday, February 18, 2023

Cynthia's Tula Nova Quilt


Cynthia made this beautiful EPP (English Paper Piecing) quilt from Tula Pink fabric using the Tula Nova pattern. For those who don't know that EPP is, the short answer is she fussy-cut each piece and hand sewed the entire medallion top.


The top was then temporarily glued to the black background which I sewed/secured on my longarm with a stitch close to the edge of the medallion before quilting the entirety.


For the quilting, I used clear MonoPoly thread on the top, and Sterling Glide 60 thread on the back. I stitched-in-the-ditch (SID) around each piece, outlined each striped piece, outlined many of the animals and all the circles, plus putting circles in thinner diamonds.


All pentagons got stars, and the wider diamonds in the outer circle got some dot-to-dot quilting.


In the border she wanted feathers in the shape of hearts. These I echoed around as well as putting stars in each of the corners of this decagon quilt.


I had never quilted with a Minky back before, but I turned out beautifully and you can see the quilting so well with it. 


I learned somethings with this quilt, besides working with Minky. In the future, I would recommend that odd shaped quilts aught to stay rectangular for the quilting and then cut to the proper shape. I didn't think it would be that big a deal, but because there was so much fabric in the center potion with all the piecing and seams and then the black background that as the quilt rolled around the take up bar, the edges didn't have as much tension as the center portion. It also would have made the set up easier (I had to baste and unpick the edges multiple times to get things all straight). But learning is good.

Cynthia bound it with a black and white striped fabric. It looks good and her lucky recipient loved it.
 

Wednesday, January 18, 2023

Tutorial - How to do a Fold-over-to-Front Binding with Sewn Mitered Corners Using the Back Fabric


Here is how to make a binding using the backing fabric and folding to the front, but at the same time, having some lovely sewn mitered corners.


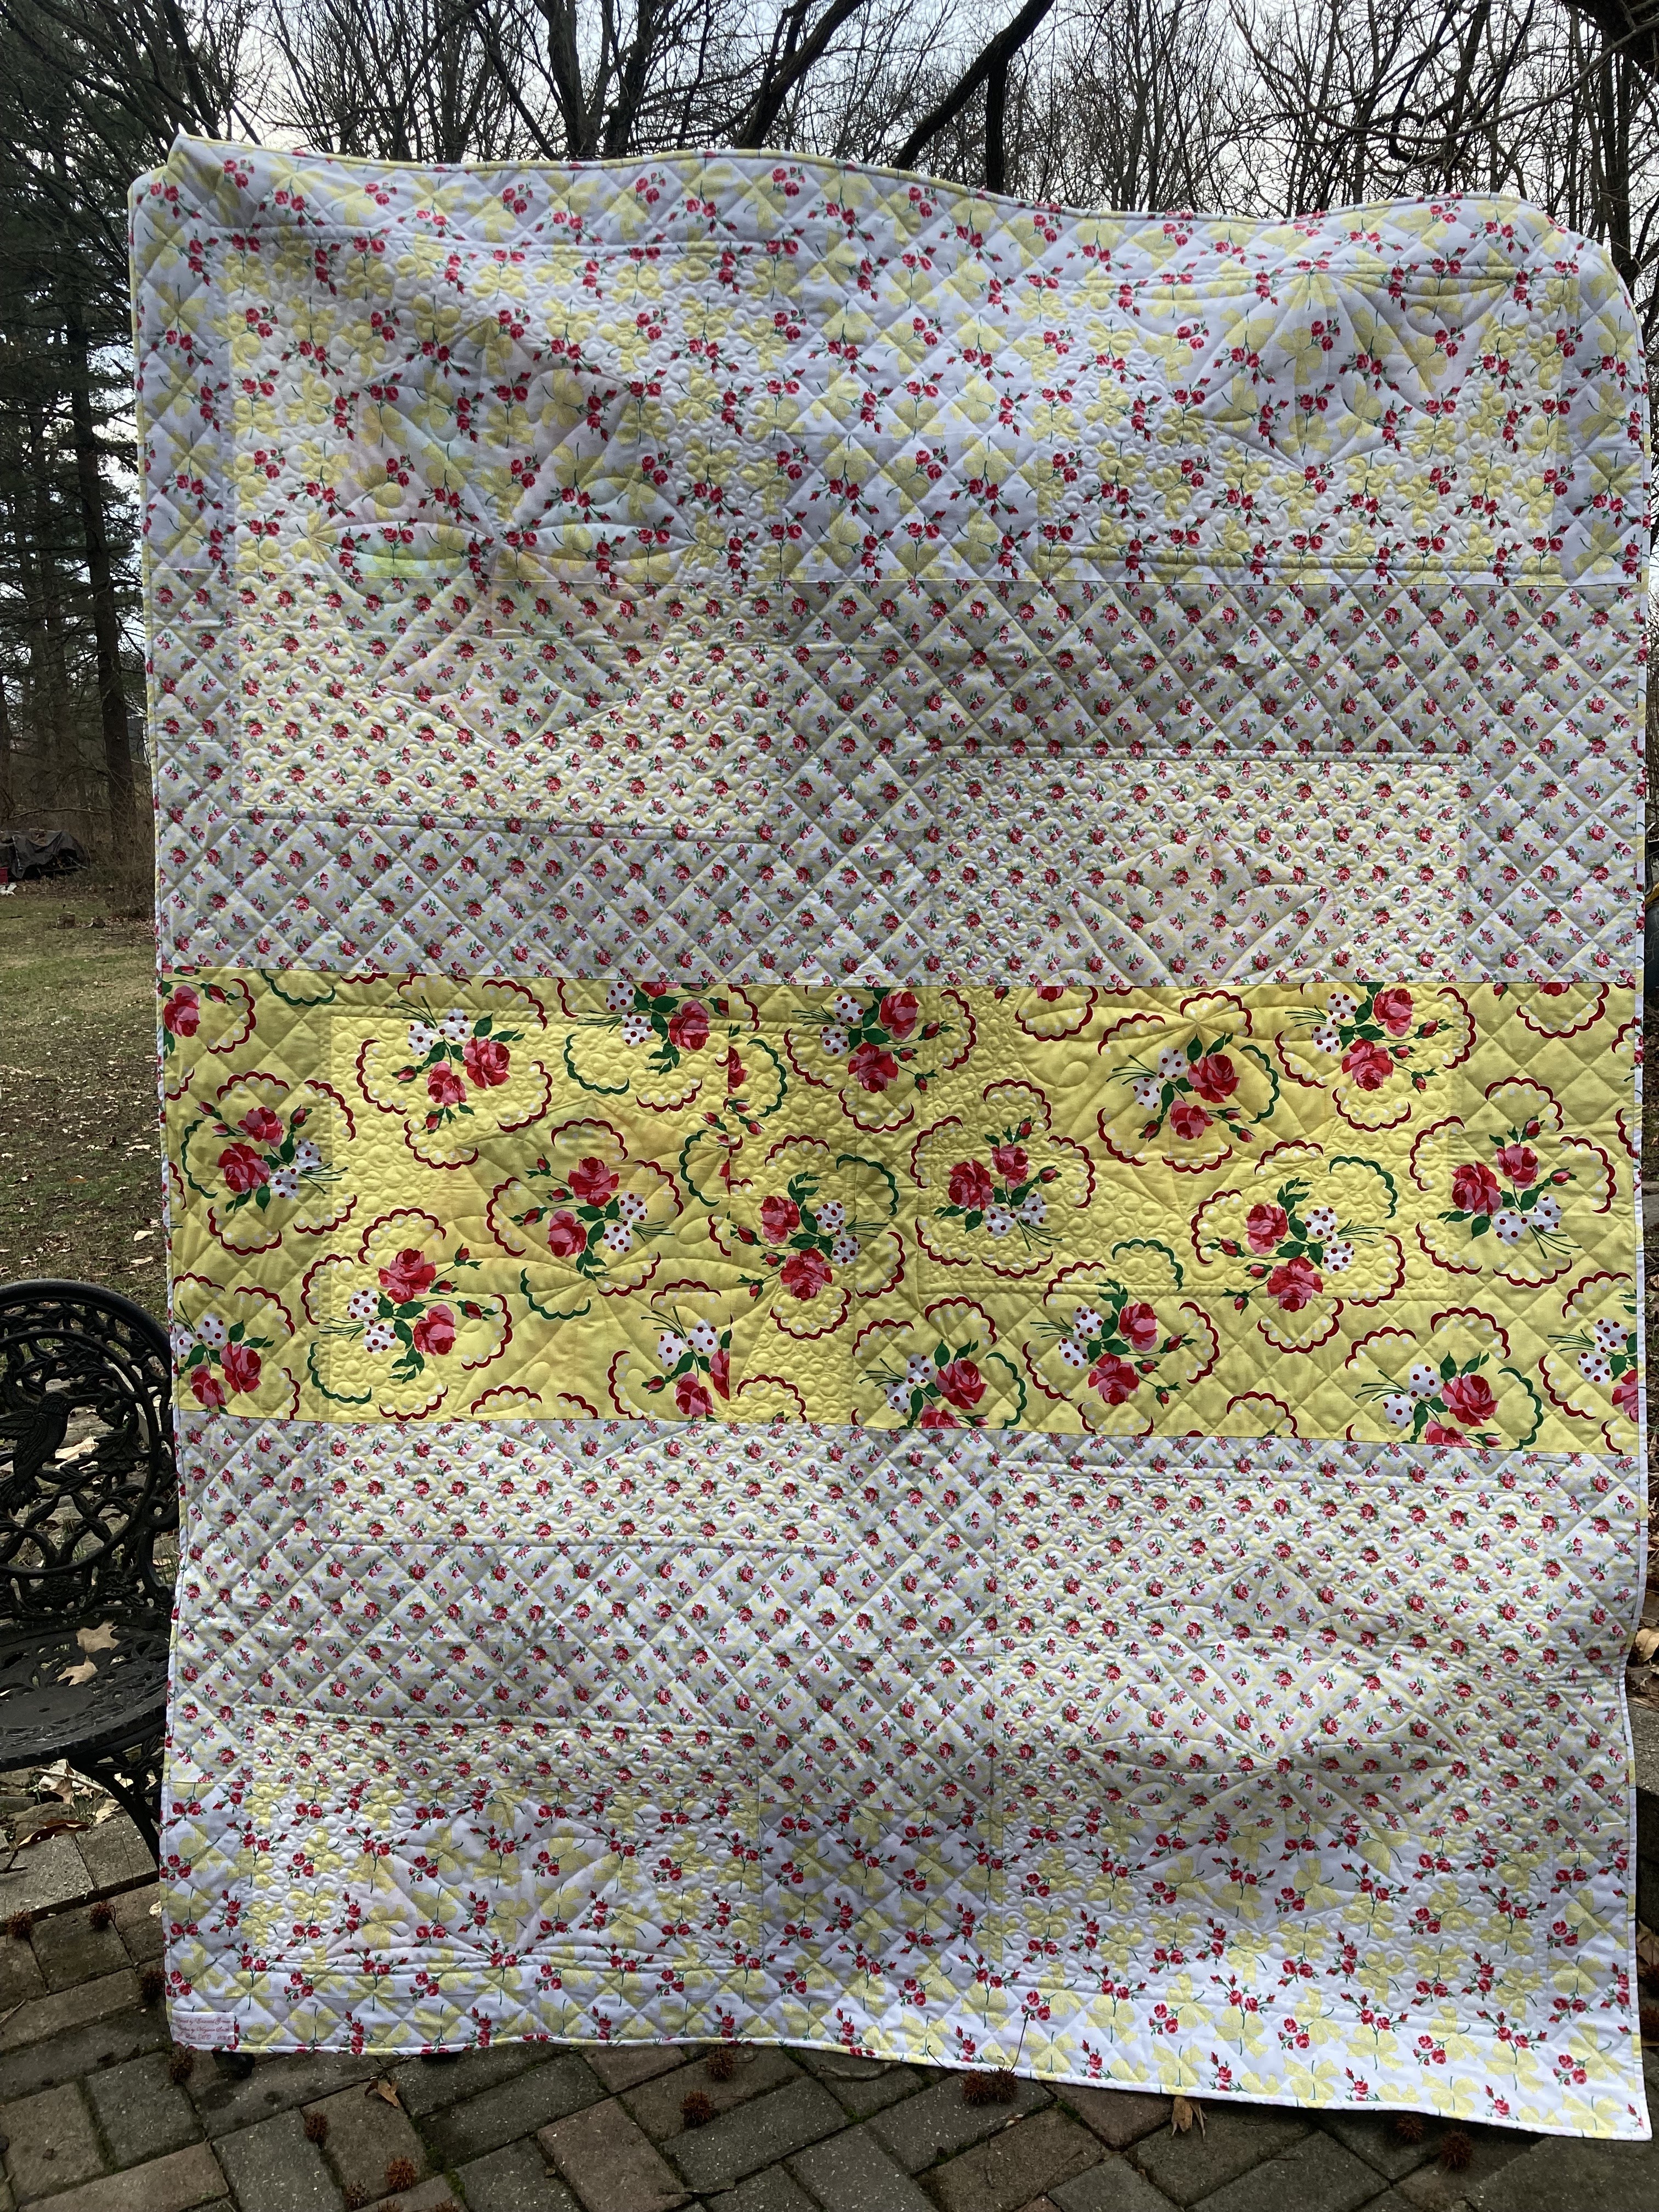
1. Begin with cutting the backing edges 2x the size of binding you want on the front. In this case, the client wanted a half inch of the back fabric showing on the front, so I cut 1" from the front fabric. In this case, it was a jean quilt, but this method could work for a two sided table cloth, a table runner, or any number of things.


2. Fold each side so the raw edge of the back fabric touches the raw edge of the front. Pin or clip in place.


3. Repeat for all sides.


4. Fold a corner at a 45 degree angle and pin or clip in place.


5. As you can see in the picture above, the two edges will match up.


6a. Fold the back edge at a 45 degree angle from the edge which will also make the extra back fabric be perpendicular to the raw edge line where the front and back fabrics meet.


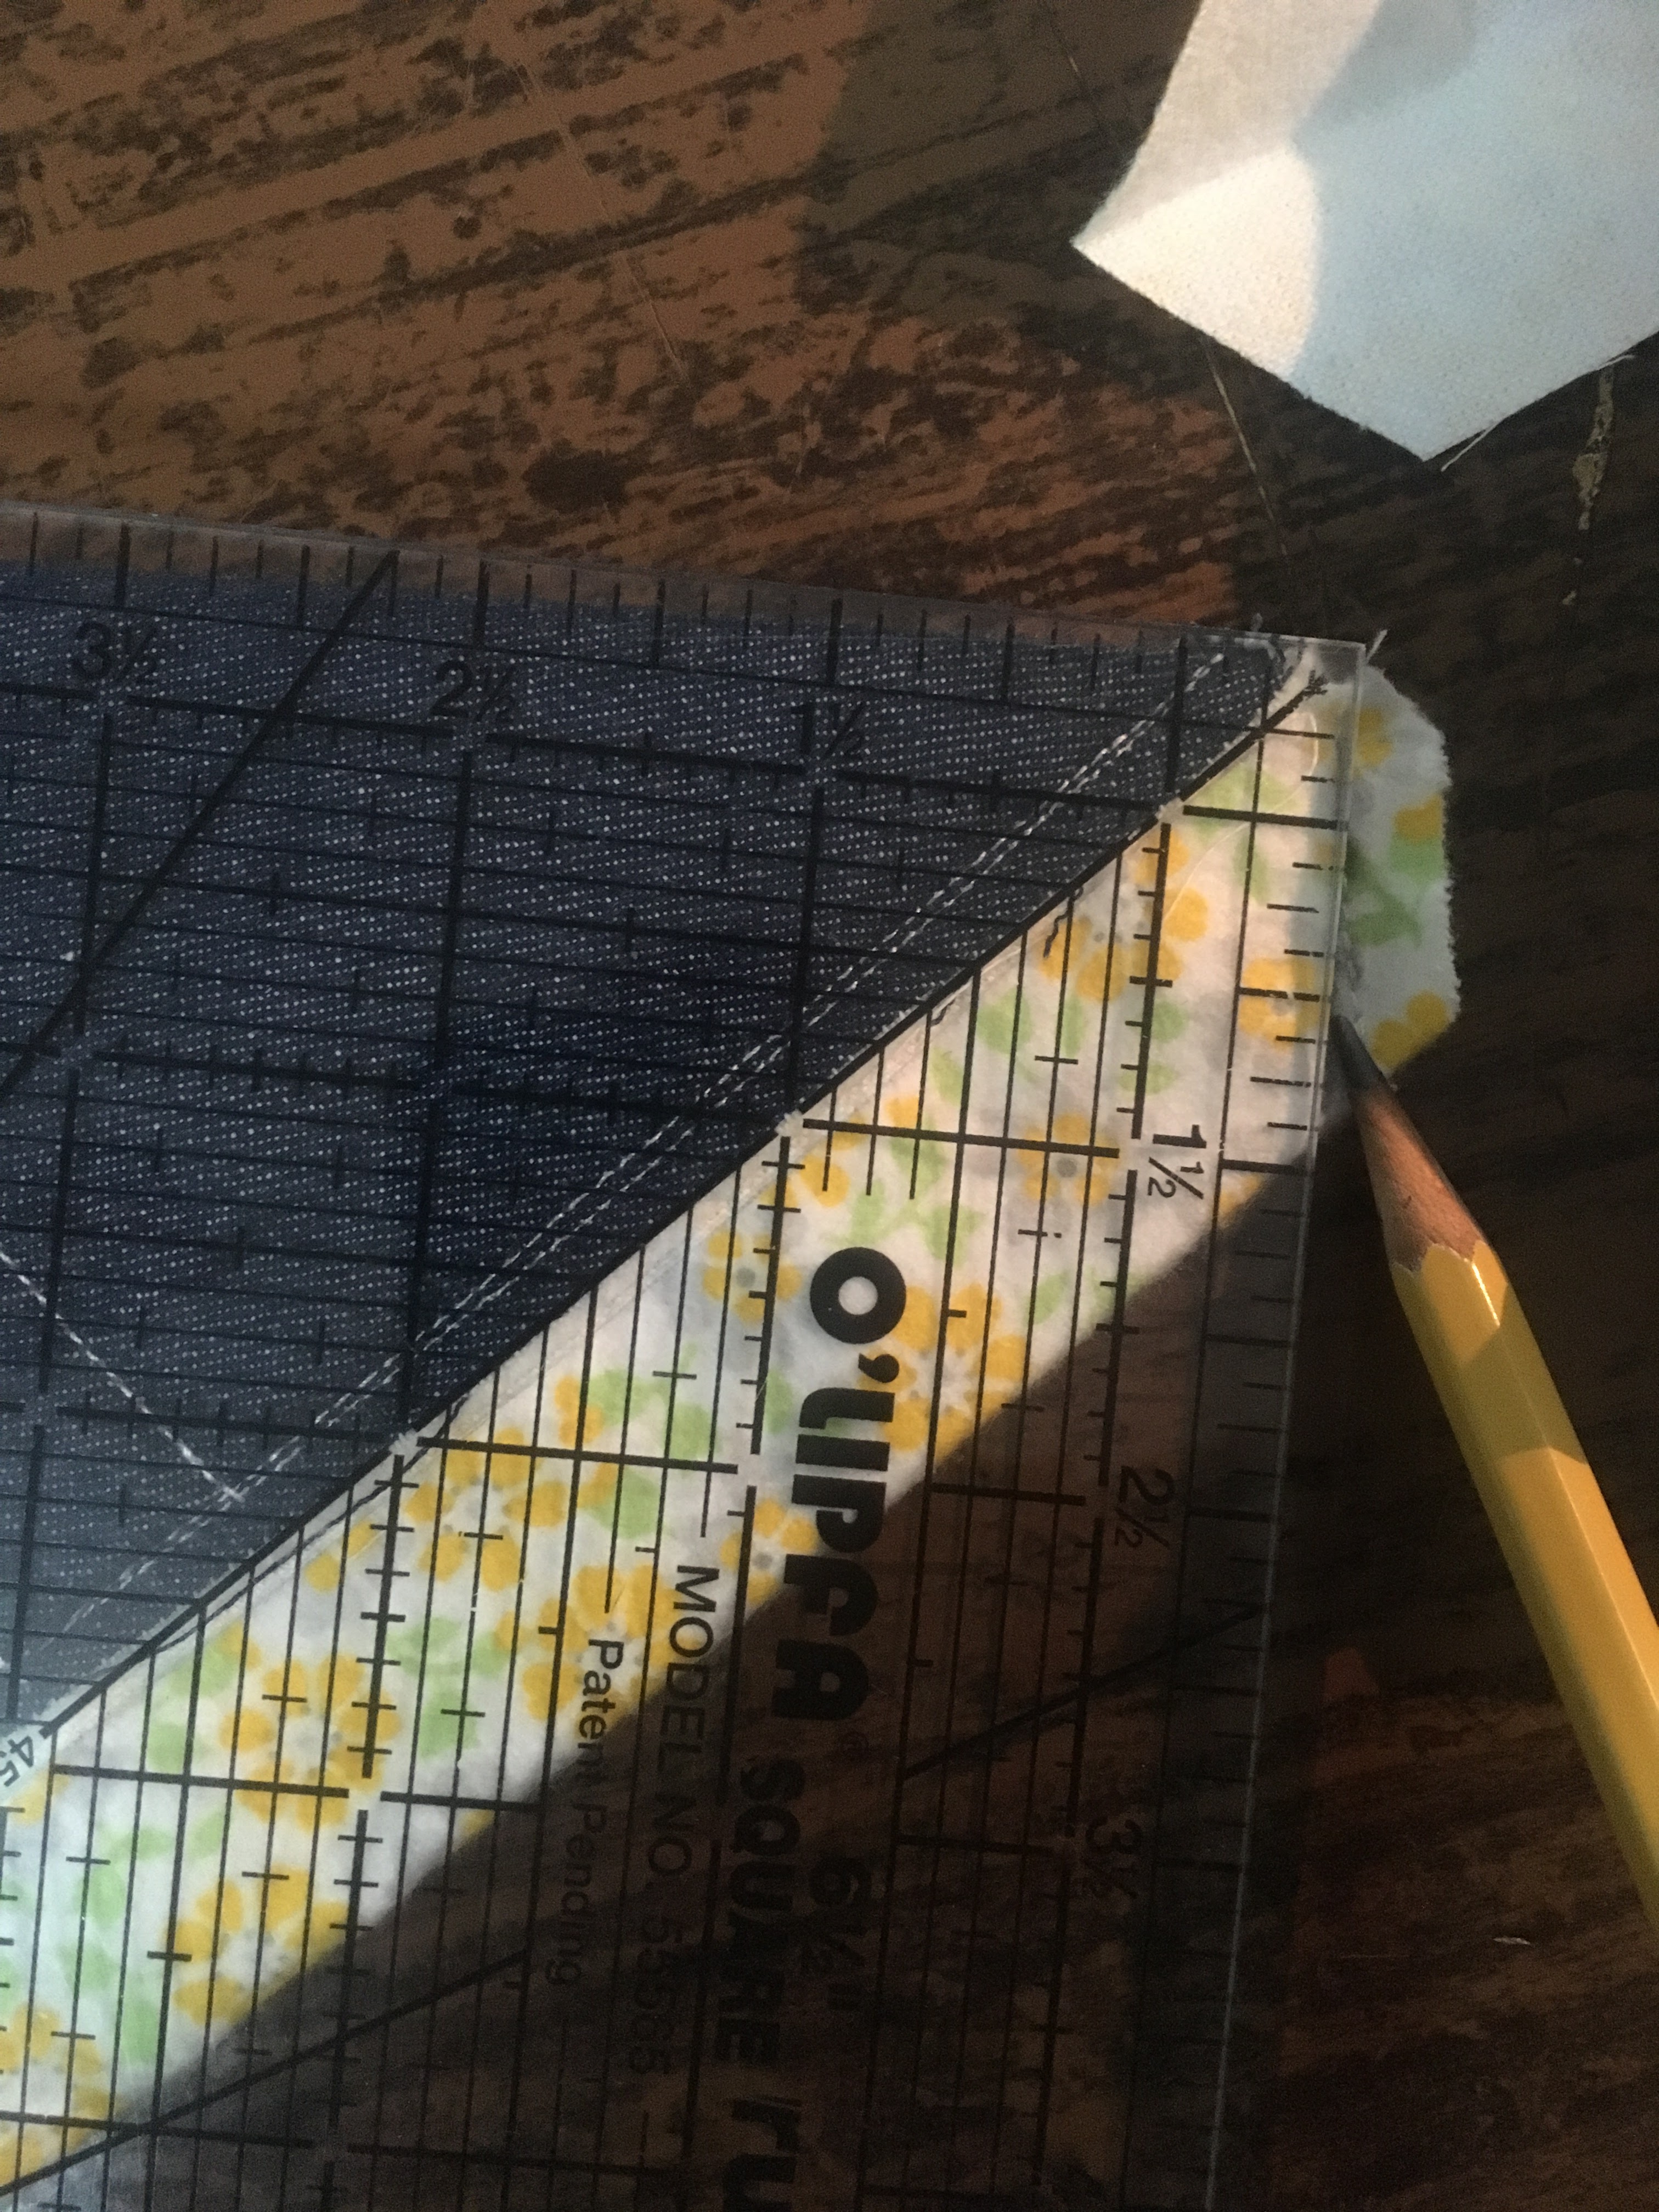
6b. Another way to mark that line is using a square ruler, lining up one side with the front folded edge and lining up the raw edges with the 45 degree line on the ruler, then marking on the other side.


7. Mark a line along that folded edge. That will be your sew line.


8. You are ready to sew.


9. Sew carefully along that line.


10. Trim leftover 1/4" from the sew line.


11. Clip the corner to remove the bulk. Repeat steps 4-11 for each corner.


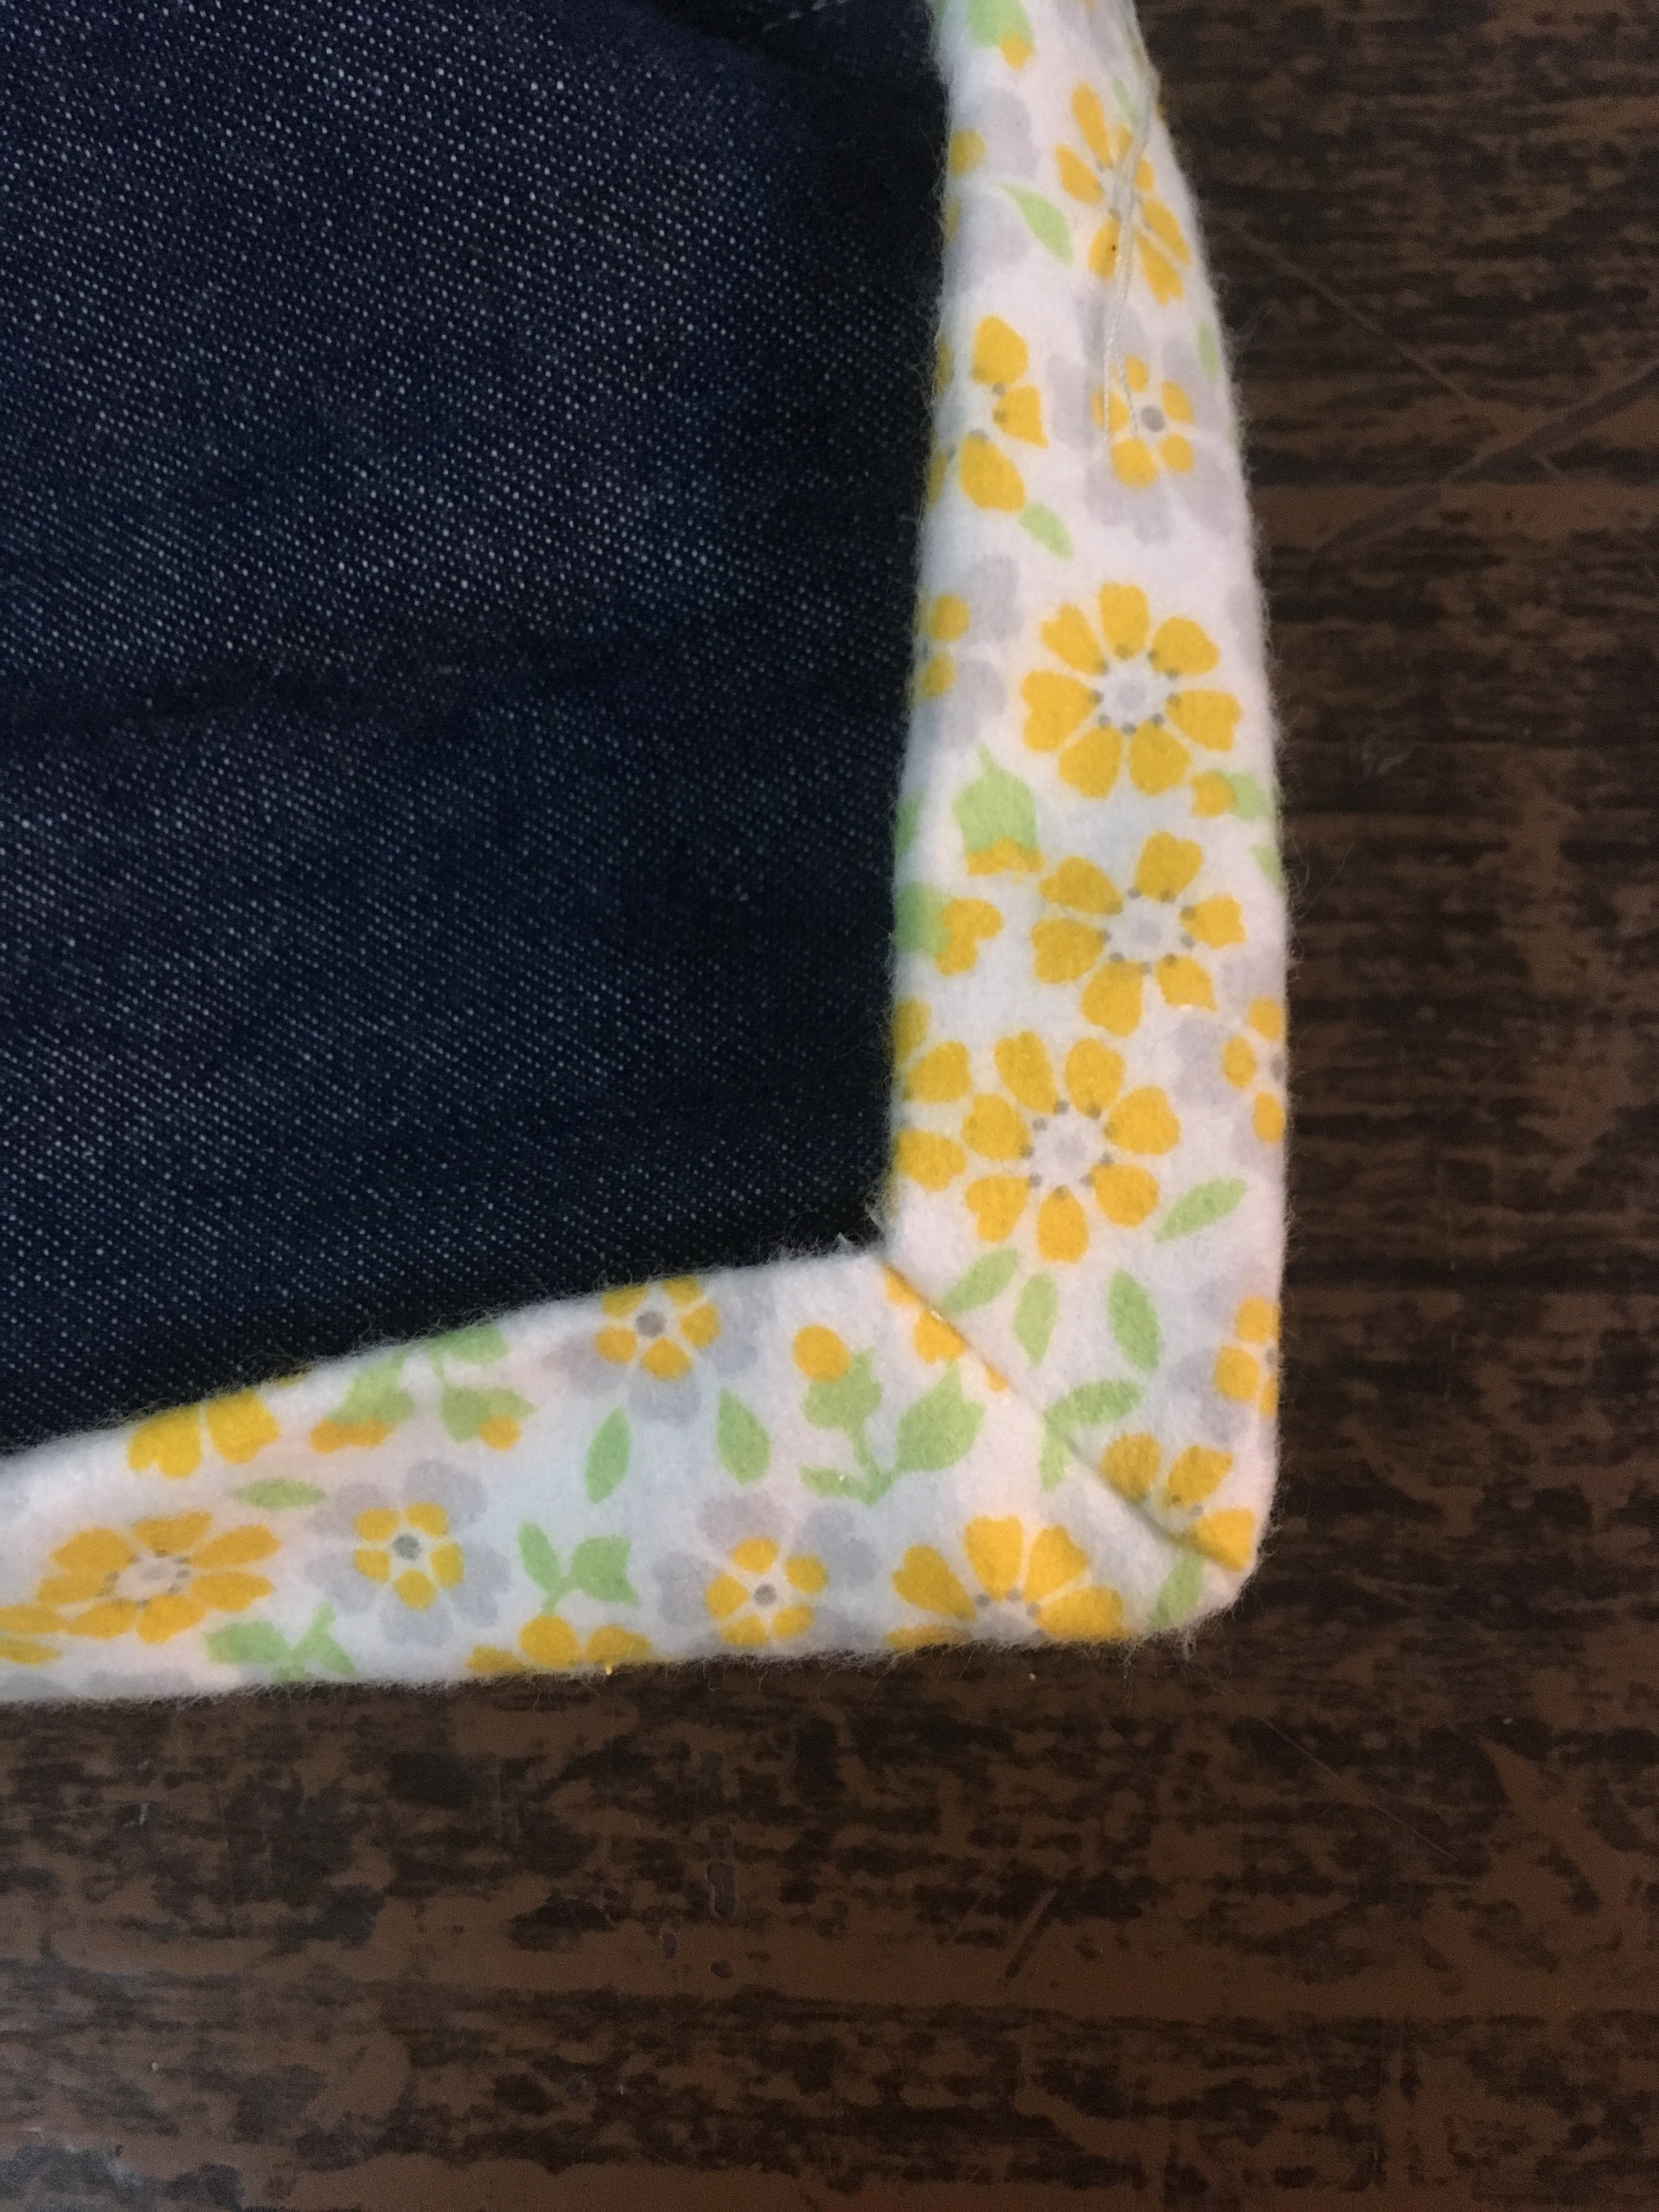
12. Fold the entire binding to the front one more time to hide all raw edges.


13. Sew close to the folded edge around entire perimeter and you're done.

Monday, January 16, 2023

Emerald's Scrappy Octagonal Medallions Quilt for Refugees


Last year, my sister, Emerald, pulled together some scrap fabric from my donated fabric to make two quilts for the refugees. After making those two, she had plenty more fabric and made more to try and use up the scraps. She made a total of 5 different styled quilts from that scrap fabric. Here is the fifth and final quilt she made from those scraps.


I had some fun quilting this and in the process was reminded that crosshatching looks fabulous but is not easy to mark when on the quilting frame. It really needs to be marked completely before putting it on to quilt. After completing half the crosshatching the hard way, I took the quilt off, spent a few hours marking it, put it back on the frame and quilted it. The second half went so much easier.
 

Here's a close up on the quilting which I did with Glide cream thread. To put it in perspective, the crosshatching felt much more difficult than the intricate swirls, but I love the contrasts of curves and straight lines and big and small. All in all I really like how this turned out.


The back is also from the donated fabric bins. It is from Michael Miller several years ago, and don't remember the name of the line.