

Here are my instructions. ;-) But you can see that the fabric I used was Michael Miller's Lacey Daisy.
Here's the tutorial for how to make your own pattern for this skirt.


But let's say that you want to figure for someone much larger than a 1-yr-old. It's simple. With math, you know you need the opening about 24", and you need to figure out the radius. Simply divide that waist measurement by 3.14 and you get the diameter. Half that and you have the radius, or the length of the line down from the center fold. 24 divided by 3.14 equals 7.643. Divide by 2 again and you have 3.821. Let's round up to 4" (since this is elasticized) and it will be almost 24".
But your daughter's waist is 28" and her hips are 40", so that hole has to be much larger. Take the 40 and divide by 3.14 which equals 12.738. Divide by 2 and you get 6.369. Round up to the 6.5" for ease.

Now measure down from the corner. Hmm it seems that it is 6" in some places, 7" in others and a bunch in between. How about trying a measurement somewhere in that range than. Measure down from the corner and mark the quarter circle in chalk. Now measure around that curve with your tape measure. Does it come out to 10? Do you need to extend the length of that radius or shorten it?

OK, back to making the skirt.
We need a lot of ruffles. For this I marked where I was going to put the ruffles and measured the area for length (see photo above) which I then multiplied by about 2 to 2-1/2. (Anywhere from 1-1/2 to 3 times works, depending on how ruffly you want it.)

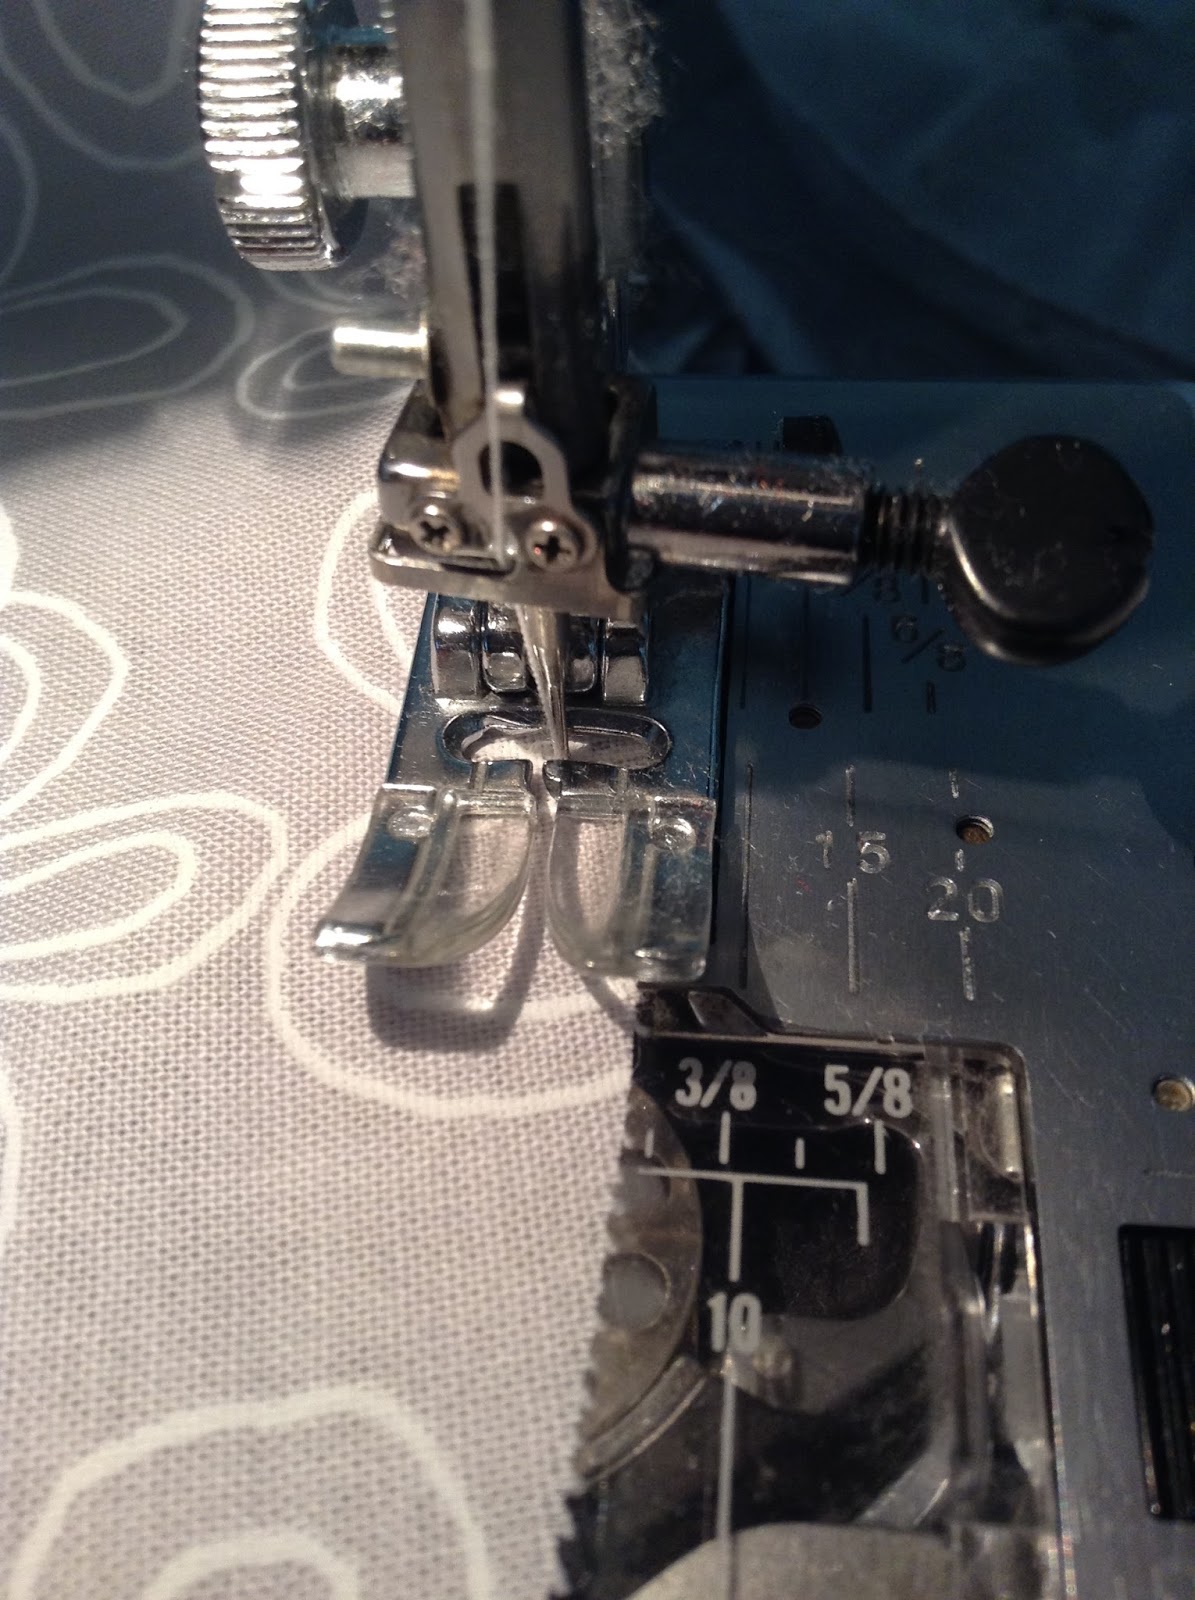
After cutting the strips (mine are cut at 5-1/2", allowing 1/2" for the hem and 3/4" for the seam plus 1/2" or more overlap), I sewed them all together to make 3 circular bands.
You also will need a waistband (cut to the size of the waist hole plus 1" for seams) and 3" wide.
You will also need 3/4" elastic cut to the size of the waist.

For hemming, I ironed up the bottom 1/2"(see photo above). As I sew, I will fold the raw edge into the fold and the hem will be 1/4" when finished.
On the raw edge, sew a double basting stitch (one at 3/8" and one at 3/16" from the raw edge), leaving the threads long on both ends to make gathering easier.
Set aside.

Lightly iron the skirt in quarters. This gives you a great way to make sure that your ruffles will be evenly spaced.

Next, take a scant 1/4" basting stitch around the bottom of the skirt, leaving strings at the beginning and ending for gathering ever so slightly.


You can see that it's gathered all around. Here again, this is way more gathering than is needed - I pull out most of that gathering.

Here you can hopefully see that I'm sliding most of the gathering out of the way as I fold the hem next to the basted line and then fold again (so the basting stitch is just barely hidden under the fold). When you stitch the hem in, the basting stitch will not show.

Here you see the hem folded up and pinned, ready to sew. The hem should lie flat thanks to the slight gather inside that hem. Stitch the hem close to the folded edge.

Now it's time to sew the ruffles on.
Make marks on the skirt where the ruffle needs to be. If you look carefully, you will see that I have a mark at the 3-1/2" mark and at the 6-3/4" mark. Make marks around the entire skirt. The raw edge of the ruffles need to match up with the marks.
Take those 3 bands that you have hemmed and basted. Fold in quarters and mark with a pin. Match each pin with the fold on the skirt, as well as keeping the raw edge lined up with the markings. Gather between the pins, evening out the gathers.

I began with the bottom ruffle.
With the hem of the ruffle pointing towards the top of the skirt, and with right sides together, sew 1/4" from the raw edge of the ruffle. This should be right in the middle of the two gathering stitches.

Remove the basting stitch that is visible from the front.

Carefully topstitch the ruffle. Make sure that the circle skirt is staying flat and the ruffle is folded at the seam line.

Repeat for the second ruffle.

For the top ruffle, simply line up the raw edge of the ruffle with the raw edge of the skirt.

Sew the two ends of the waistband together from the halfway point to the long edge.
To find the halfway point, finger press the band in half lengthwise.

Press the seam open, including the part that is not sewn.


Thread the elastic through the waistband. I put a big safety pin perpendicular to the elastic on one end, then a smaller safety pin at the other end to help me thread the elastic through.
Sew the ends of the elastic together, then draw them inside the casing by stretching the waistband. Hand stitch the small opening closed.
Et, voila! Fini!
