Pricing
I am a long arm quilter with rates starting at $.018/square inch. Most edge to edge designs are $.021/square inch. My prices include set up, thread, needles, etc. I make commissioned quilts with rates at $20/hour.
Tuesday, November 3, 2020
Quilt #2 for Charity - practice with rulers
Red and White Charity Quilt
Monday, November 2, 2020
First Practice Quilt on my Longarm
At the end of January 2020, I finally became the owner of my own longarm quilting machine. After the set up, I began practicing. I will begin posting pictures of the quilts that I have quilted over the last 9 months.
Many friends pass me their unwanted fabric. With it, I have been making quilt tops for the last 8 plus years as I saved my pennies, to be able to practice my quilting once I got a longarm. These, I plan to give to a women's shelter once they are quilted. This first one I played with free motion - a different thing in each square.
Saturday, October 31, 2020
Baby Quilt for Sarah
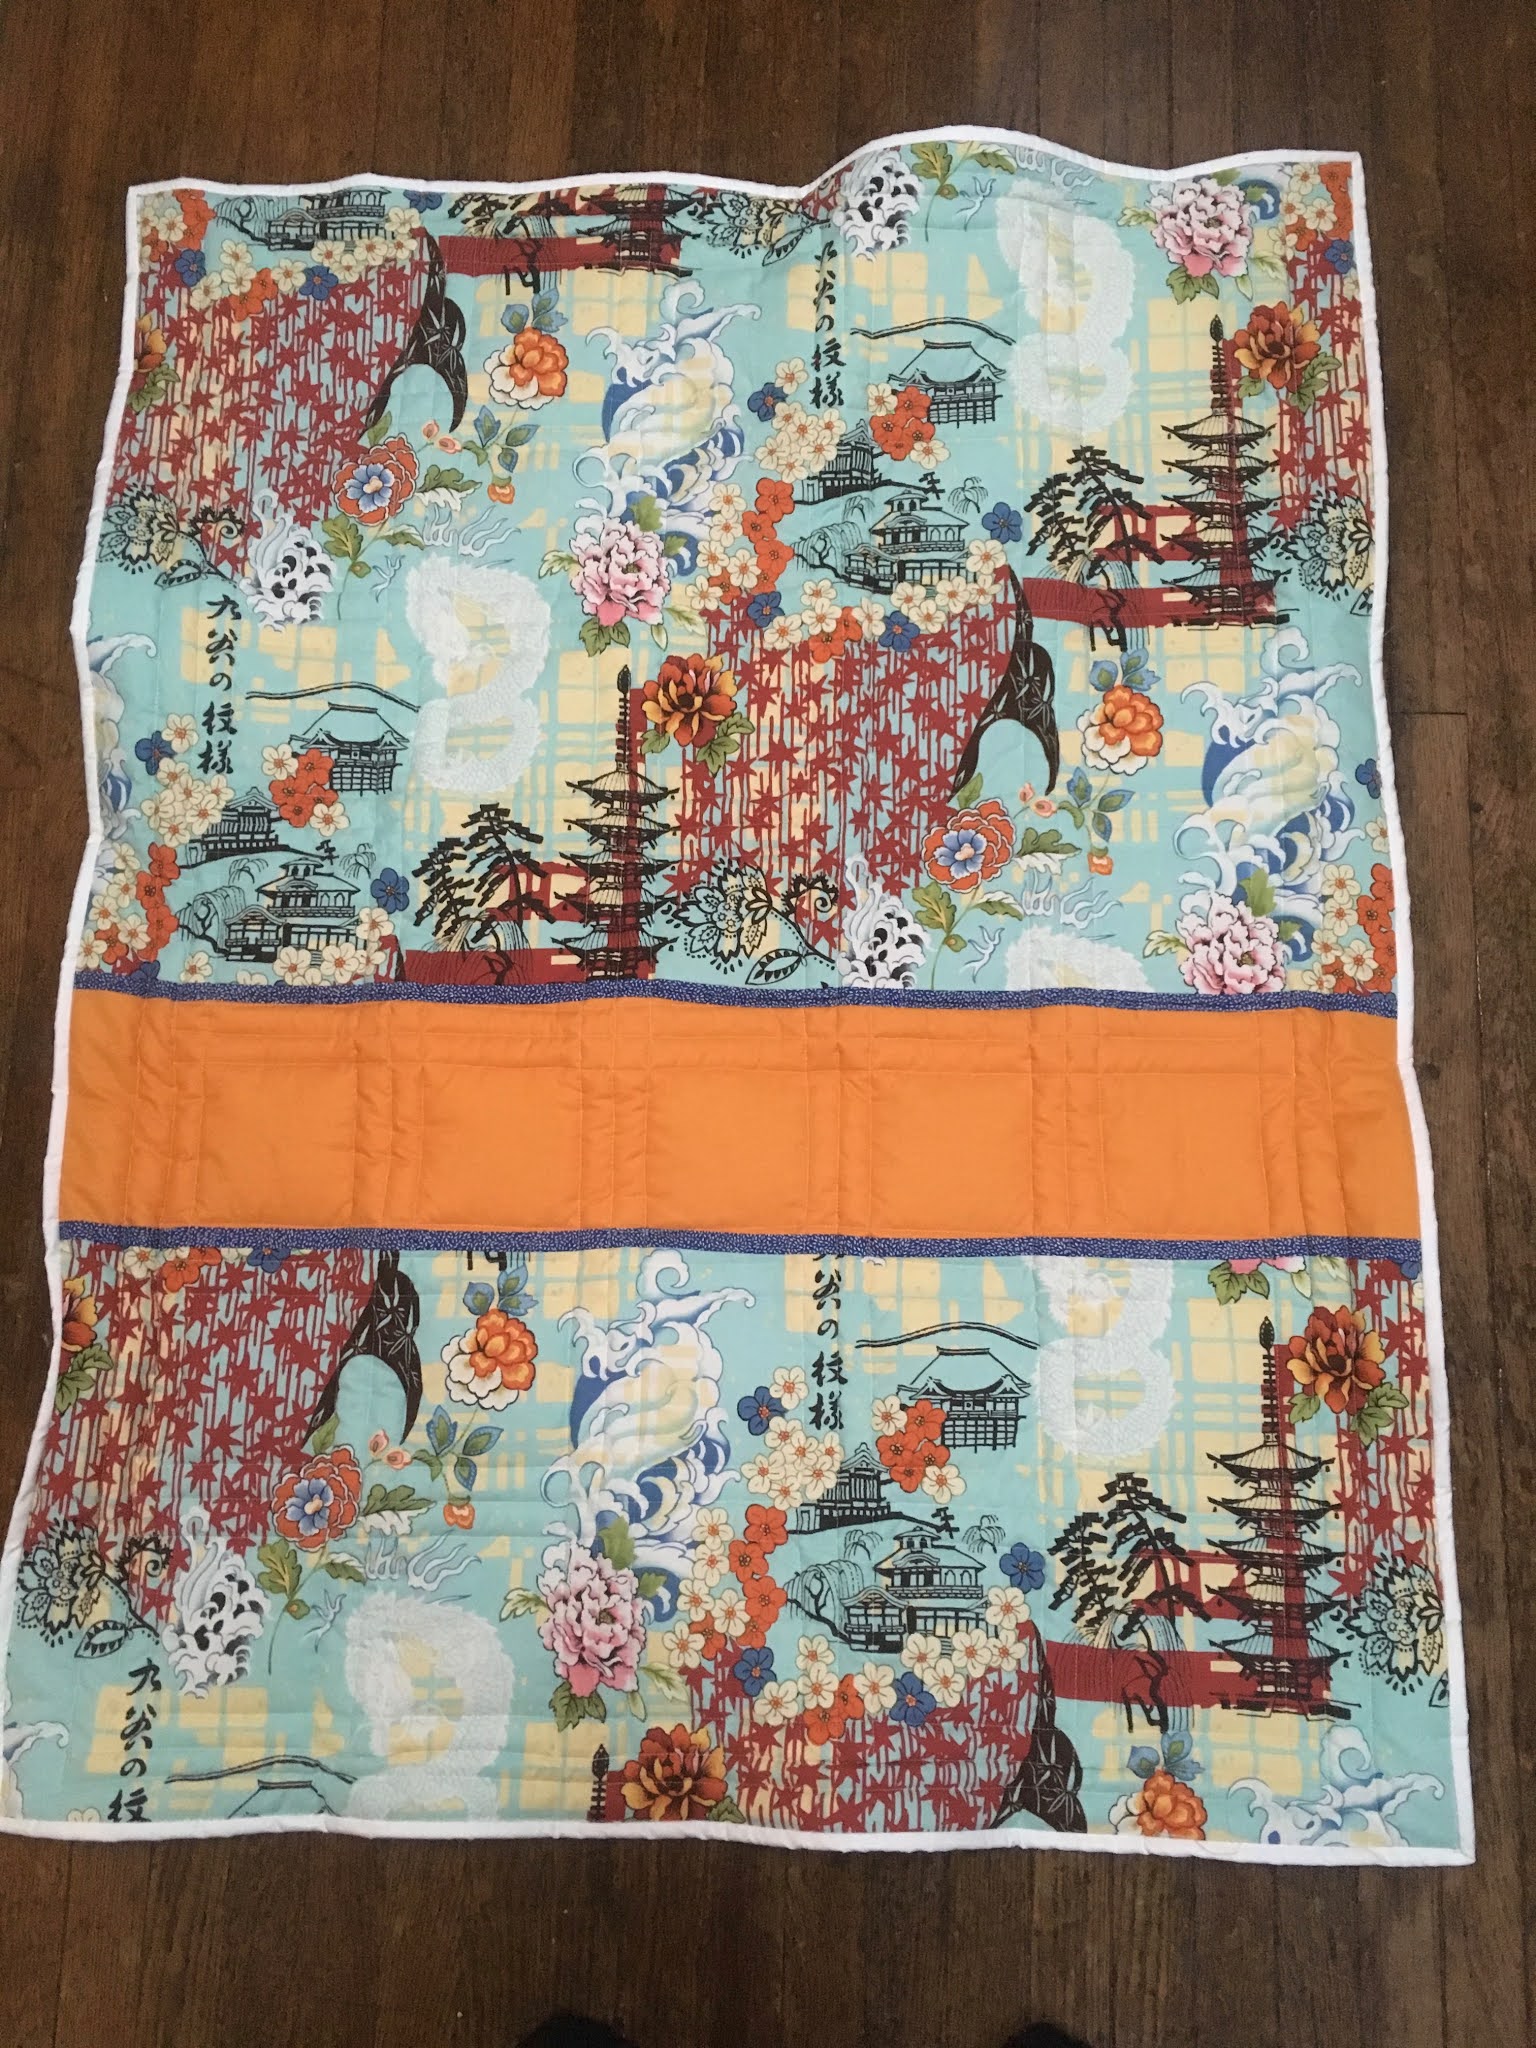
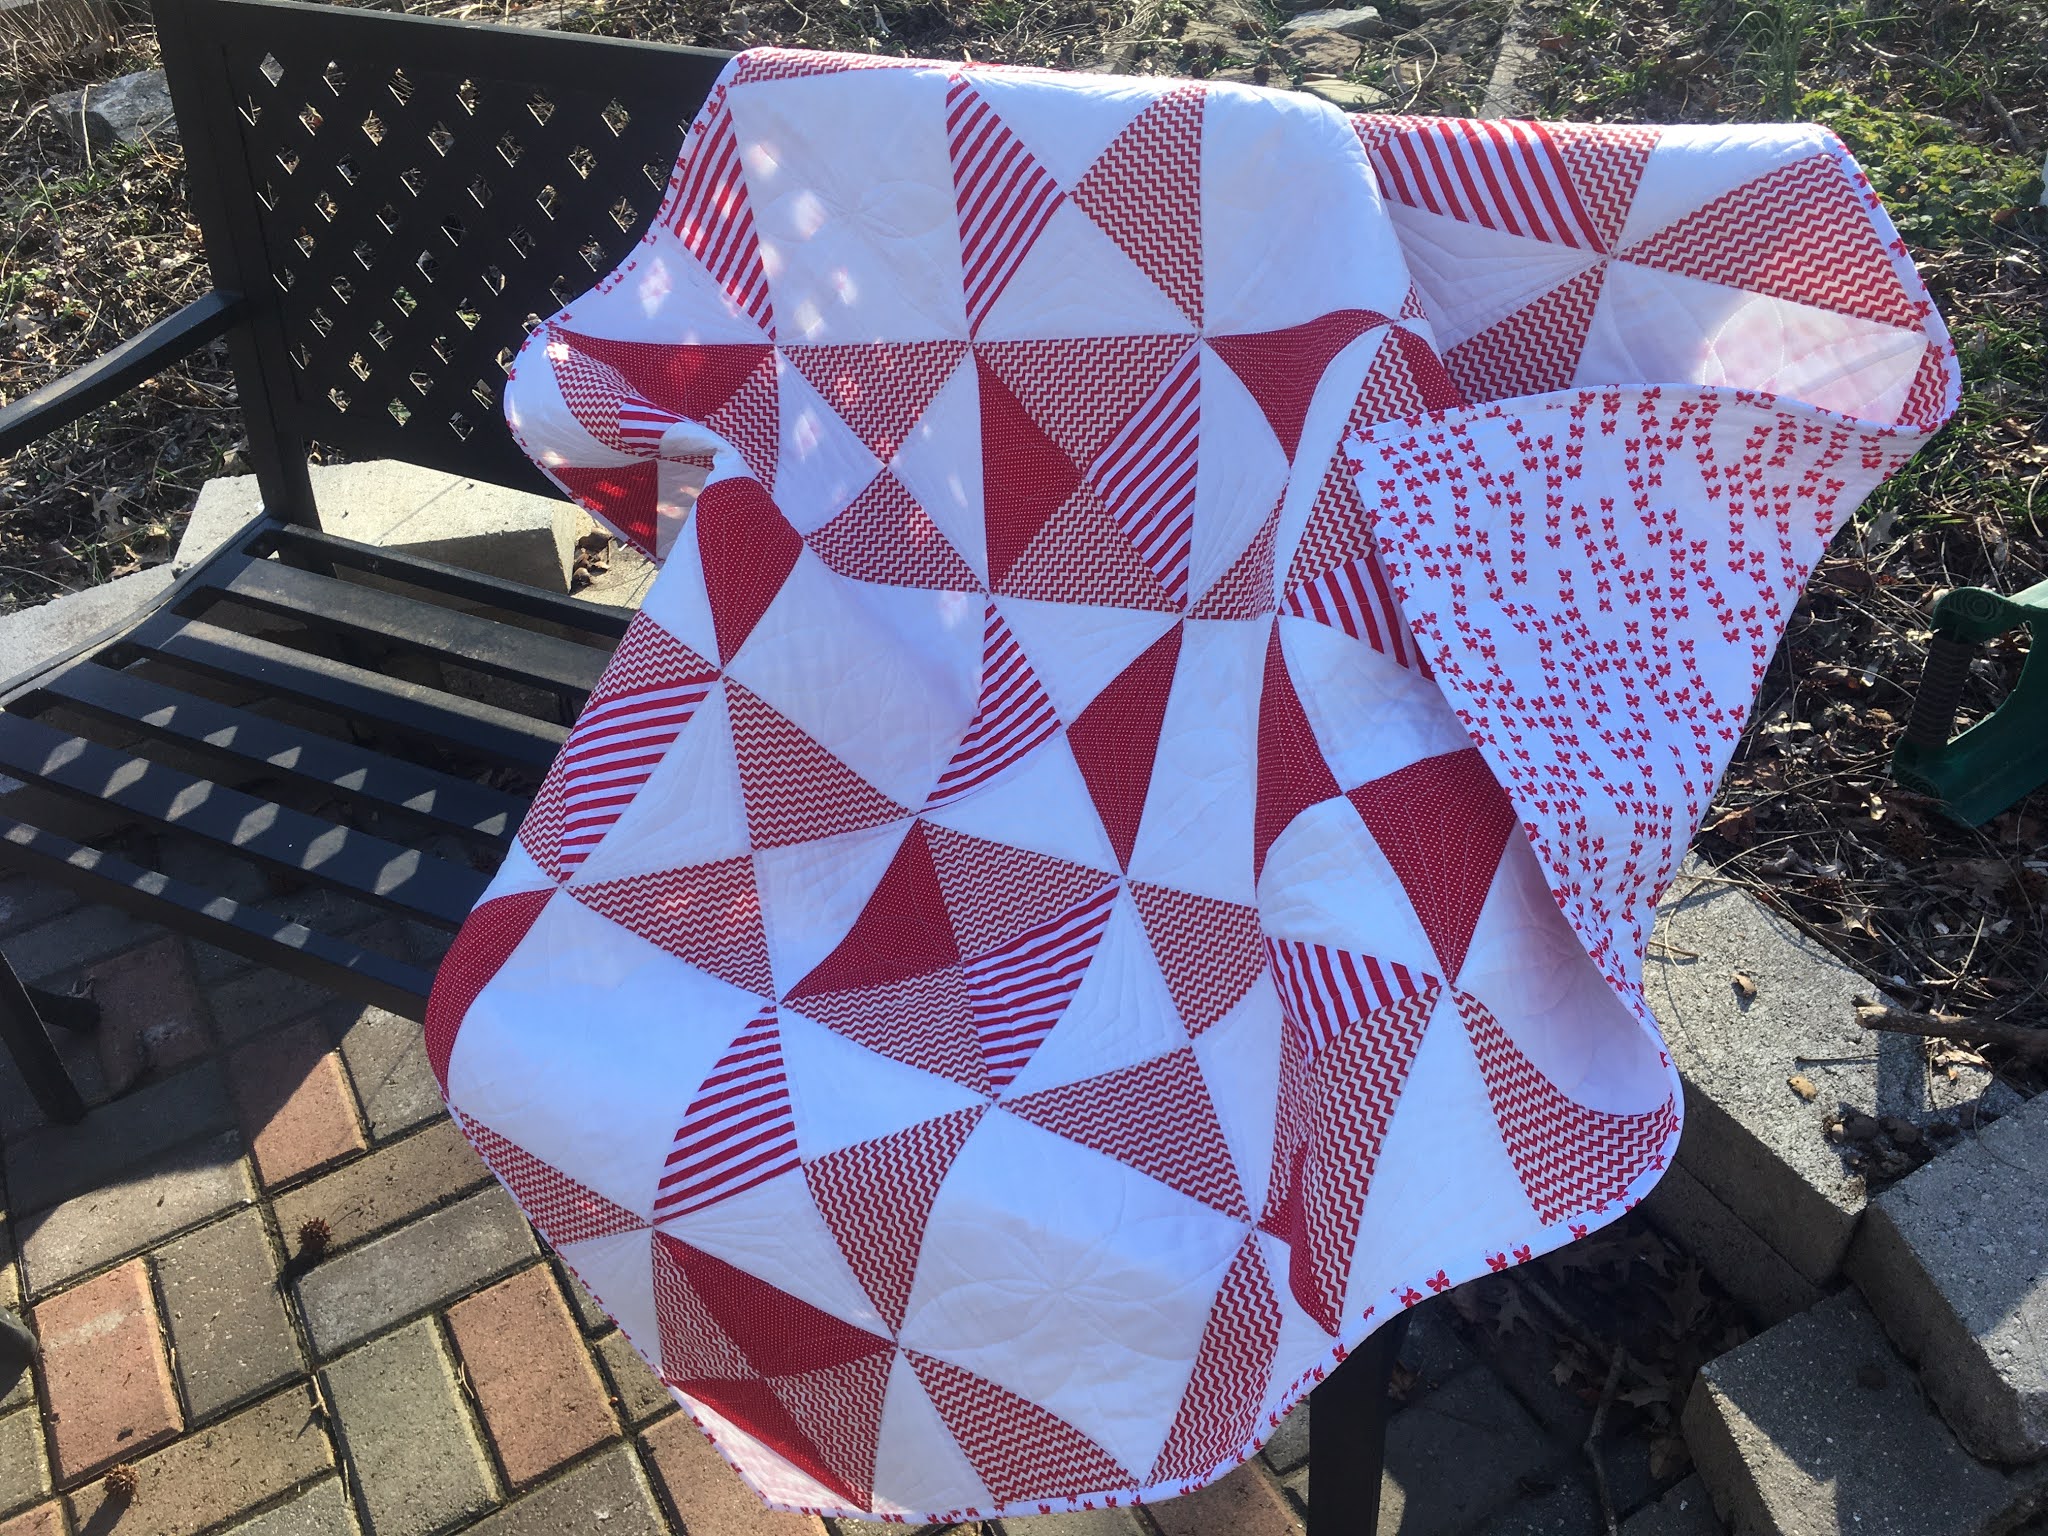
A friend from church was having a baby shower. I debated what to bring and two days before the party, I decided I'd just throw together a baby quilt. The quilting was done on my domestic machine - probably about 6 months before I got my longarm, but for some reason she didn't want to wait until then to have the baby, so... there it is. She probably liked the back the most. Good thing it's reversible.
Wednesday, October 28, 2020
Cathy's Falling Charms Quilt
Friday, November 2, 2018
Cross Quilt for Melanie & Chris
My apologies for the lighting. I wanted to take a picture outside, but it's been dark and rainy. Even when it's not raining, it's muddy outside and I have no good place to take the photo without getting that bright white dirty.
This quilt I made this past month for my good friends, Melanie and Chris, both priests at their church, who are moving away this next week. I’ve had the good fortune to watch their two little boys for the last year plus. They are good, caring people.
The back was signed by members of their church and my family.
I’ve seen so much symbolism is the design. This is one I enjoyed making. Here are some close up on the quilting.
One must always have a label for the quilt. This quilt I entitled "I'll Go Where You Want Me to Go" inspired by a hymn (photo below) which speaks of which speaks of following the path that God has for you in what you say, what you do and where you go.
The binding is has a faux piping. I love the subtle frame and the ease of sewing the binding on by machine.
Thursday, October 18, 2018
Alexander’s Train Quilt
Emerald made 2 year old Alexander this quilt for Christmas. He loved certain zoo animals, vehicles, and trains, so with my embroidery machine, we embroidered his favorite zoo animals, cars, and trucks on to the white squares. Then she designed and appliqued the train in the center. One of the great things about this quilt is that it was all made from fabric in our stashes. Love that! (Sorry the lighting was weird in the room).
Tuesday, August 7, 2018
Making Curtains - Tutorial
1. The white lining fabric is the exact size that the curtains will be. I have allowed 1" on each side for seams and 4-1/2" at the bottom and 2-1/2" at the top for a 1-1/2-2" rod pocket. If you would want that ruffle at the top above the rod pocket, add 2-4" to that figure (depending on how much ruffle you want). This was not what my sister wanted, so we left that off.
2. As much as I hate ironing, it will make this whole thing much easier. Fold and iron 1/2" on all edges.
3. Next, carefully place and pin the lining to the curtain fabric, wrong sides together. If you cut and ironed precisely, the raw edges of the lining should just touch the raw edges of the curtain fabric on each side.
4. Fold and iron the side seams over the lining 1". Pin in place.
5. Then sew close to the inside folded edge. Repeat for other side.
6. If you haven't done so yet, iron 1/2" from raw edge, then fold down 2" (or 4" for the bottom) so that the fold is where the liner begins. Iron, pin and sew as you did for the sides. Top is shown here, but the same applies to the bottom hem as well.
If you want a ruffle at the top, you will need a 4" fold from the top, then after sewing along the folded edge, closest to the center of the curtain, sew 2" from top and 2" from the seam that you just made, in other words, smack down the center of the pocket you just made.
Here it is finished. Makes the room bright and colorful, that's for sure.
Thursday, August 2, 2018
Starry Baby Blanket
Tied with yellow yarn. I like the tactile experience for babies since I remember finding comfort in rubbing the ties on my baby blanket. I think the yellow adds to the stars in the sky on this quilt.
For some reason the color is way off on this photo, but yellow binding is machine stitched on using a decorative stitch - stars of course. I like to stitch the binding on by machine for quilts that are going to be used a lot, especially baby blankets that get washed frequently. It makes them hold up better.