
I was asked how I made a quilt label, so this is what I do. I don't have an inkjet printer, nor does my sewing machine have a fancy stitch that works well, so I'm just doing it the way I can. Here it is.

I start by printing what I want to put on the label on regular paper. Most important things to include would be the maker, the quilter, where, when, and any important information that generations later would want to know. You could name the quilt, add who commissioned it and why. I'm showing the minimum.

I then, using a light table or taping it to a window, place some white or muslin fabric over and trace my words carefully using fabric markers.

I then trim, leaving a minimum of 1/2" on all sides. With 1/4" seam allowance, that leaves 1/4" around the lettering.

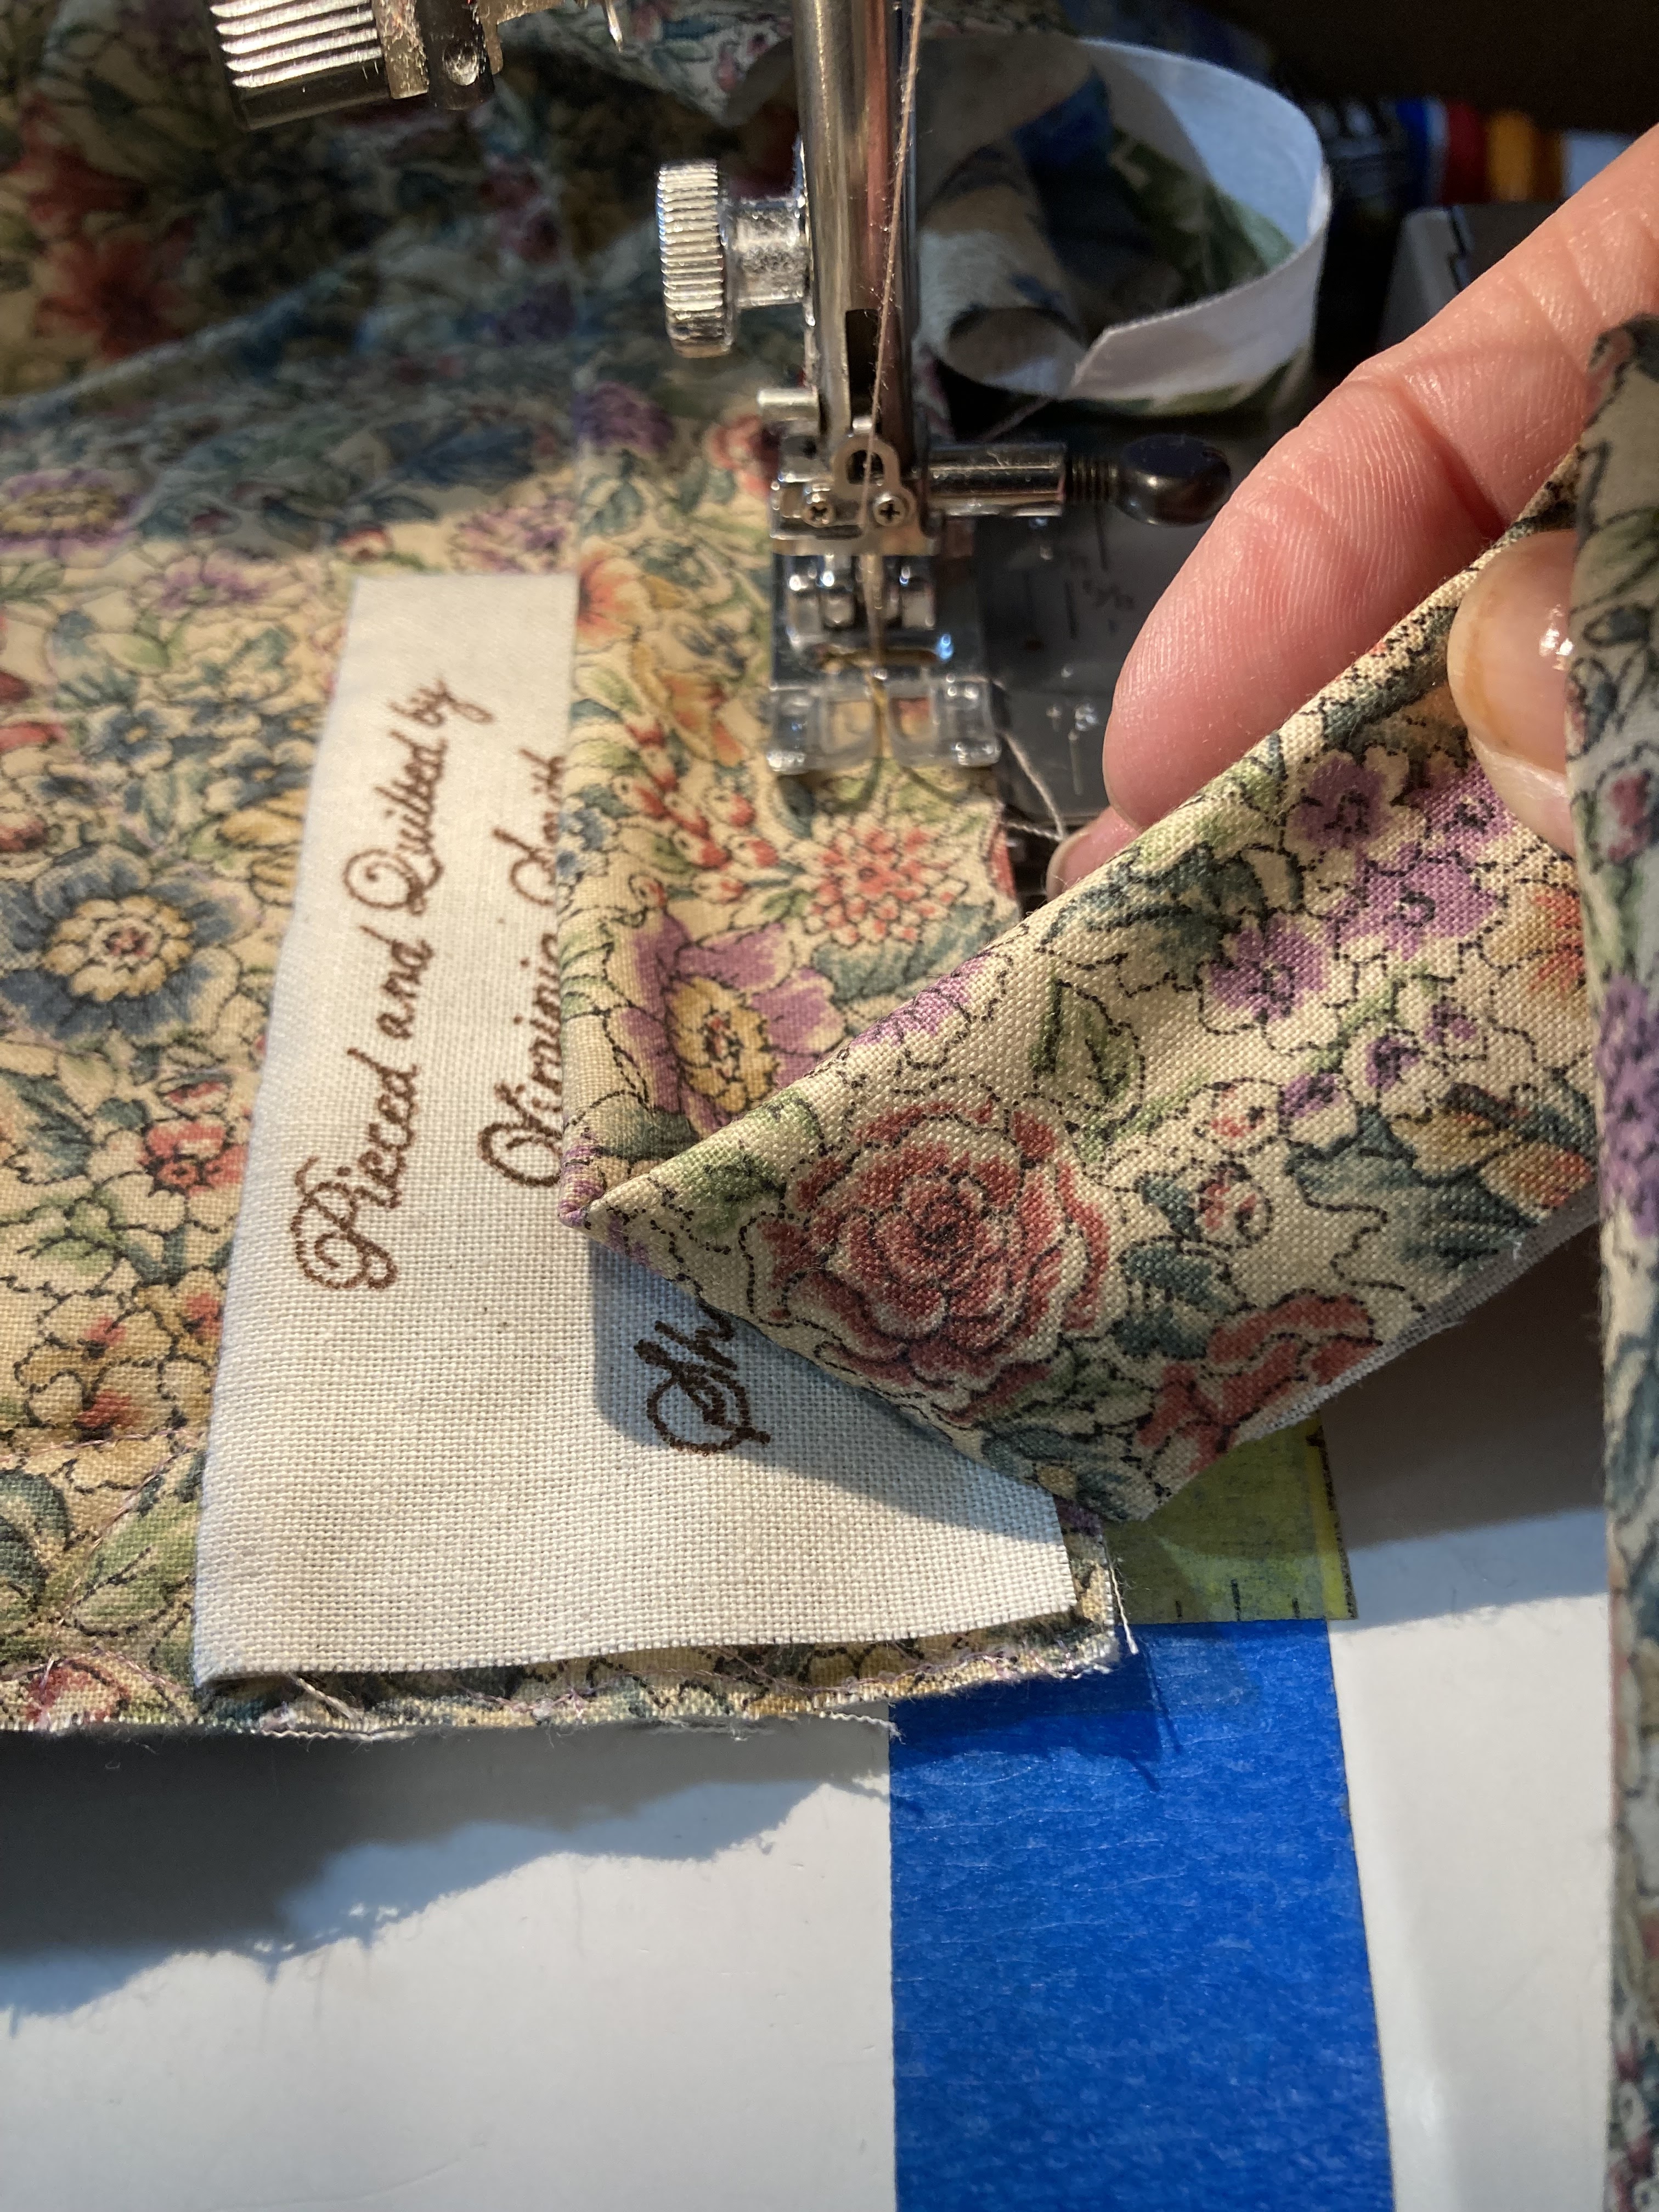
I then iron the seam allowances. There are two ways I use regularly.

One is to iron all 4 sides, like the one on the far left and the one I'm currently ironing and then sew on the back of the quilt. The other way is to iron only the top and right side of the label as I did in the top and middle label shown below.

Then, before the binding is sewn on, pin the label on the bottom left-hand side of the back. This is the same as the back of the bottom right-hand side of the front. (Sounds more confusing than it is).

I then hand stitch the ironed edges (top and right) using a ladder or invisible stitch. A whip stitch could work, too, if you're not comfortable with the other.

The invisible/ladder stitch is done by taking a small stitch on one fabric (above) and then a small stitch on the other fabric, right on the fold as shown below. Make sure you just go through the backing fabric since you don't want the stitch to show on the front.

Repeat until all sewn. Bind as usual. My preference (as shown below) is to sew my binding to the back first, then fold over to the front and do a top stitch close to the folded edge.
And it's done with less hand sewing.

No comments:
Post a Comment