The youth group at church will be making a "pioneer trek" this summer. The one overseeing all the organizing, asked me to make the 117 bags. (I'm making extra since they've already upped the number on me once). Here is how I made it. You of course can change the dimensions, but these finished are about 10-1/2" x 7".
 1. I began with a piece of fabric that is 20"x11". I'm using a thicker fabric that has a canvas-y feel to it. (The fabric was donated, so I don't have its make and model number.) ;-)
If you want to change the dimensions, add 1/2" to the width you want for the cutting width (10-1/2" + 1/2" = 11" width) and take the height you want, multiply by 2, add the length of the flap and add 1" for your cut size (7 + 7 + 5 + 1 = 20).
 2. For the strap, I cut a strip that was 60" x 4." The strap will be 1" wide when finished. If you are using 56" wide fabric and want to cut it the WOF, that would work too.
 3. Fold the strip lengthwise in half and either finger press or press with an iron. Fold each end to the middle and press again. You now have 3 creases 1" apart extending the length of the strap.
 4. Fold towards the wrong side of the fabric each of the short edges approximately 1/4 inch.
 5. With the short edge in, next fold the long, raw edges to the center on the crease you already made.
 6. Then fold along that center crease as shown.
 7. Next sew along first a short edge, then pivot at the corner and sew down the long edge, closing the opening (see photo below). When you get to the short end, pivot and sew that closed (all raw edges should be enclosed at this point). My preference is to sew down the folded edge as well, but that is purely aesthetics. The strap is done and you can set it aside for now.

 8. Now comes the bag. On one of the short edges of the 11x20 piece of fabric, fold over 1/4", then fold again. You can press it (photo below) if that help you or just double fold it as you sew. Either way.

 9. Next fold the sewn edge up 7", wrong sides together (right side out). This seems to go against the grain of the way we normally sew, but we are doing french seams so this fabric that seems to want to fray all over the place will have all the raw edges enclosed. So, yes. Fold it with the right side out.
 10. With the RIGHT side out, sew both sides from the hemmed edge down to the fold (or from fold to hem - direction doesn't matter). Use a large 1/8". I actually follow the 5 mm line on my machine which is about halfway between the 1/8" mark and the 1/4" mark. That seems to be about right for this.
 11. Next turn the bag inside out (seam is on the inside and the hemmed edge is facing out). Poke the corners out so they are good and square. Sew from hem to fold (or fold to hem) using a 1/4" seam allowance. (Two pictures to show this from different angles).

 12. Turn right side out.
 13. When you turn it right side out, you will notice a wonky accordion fold.
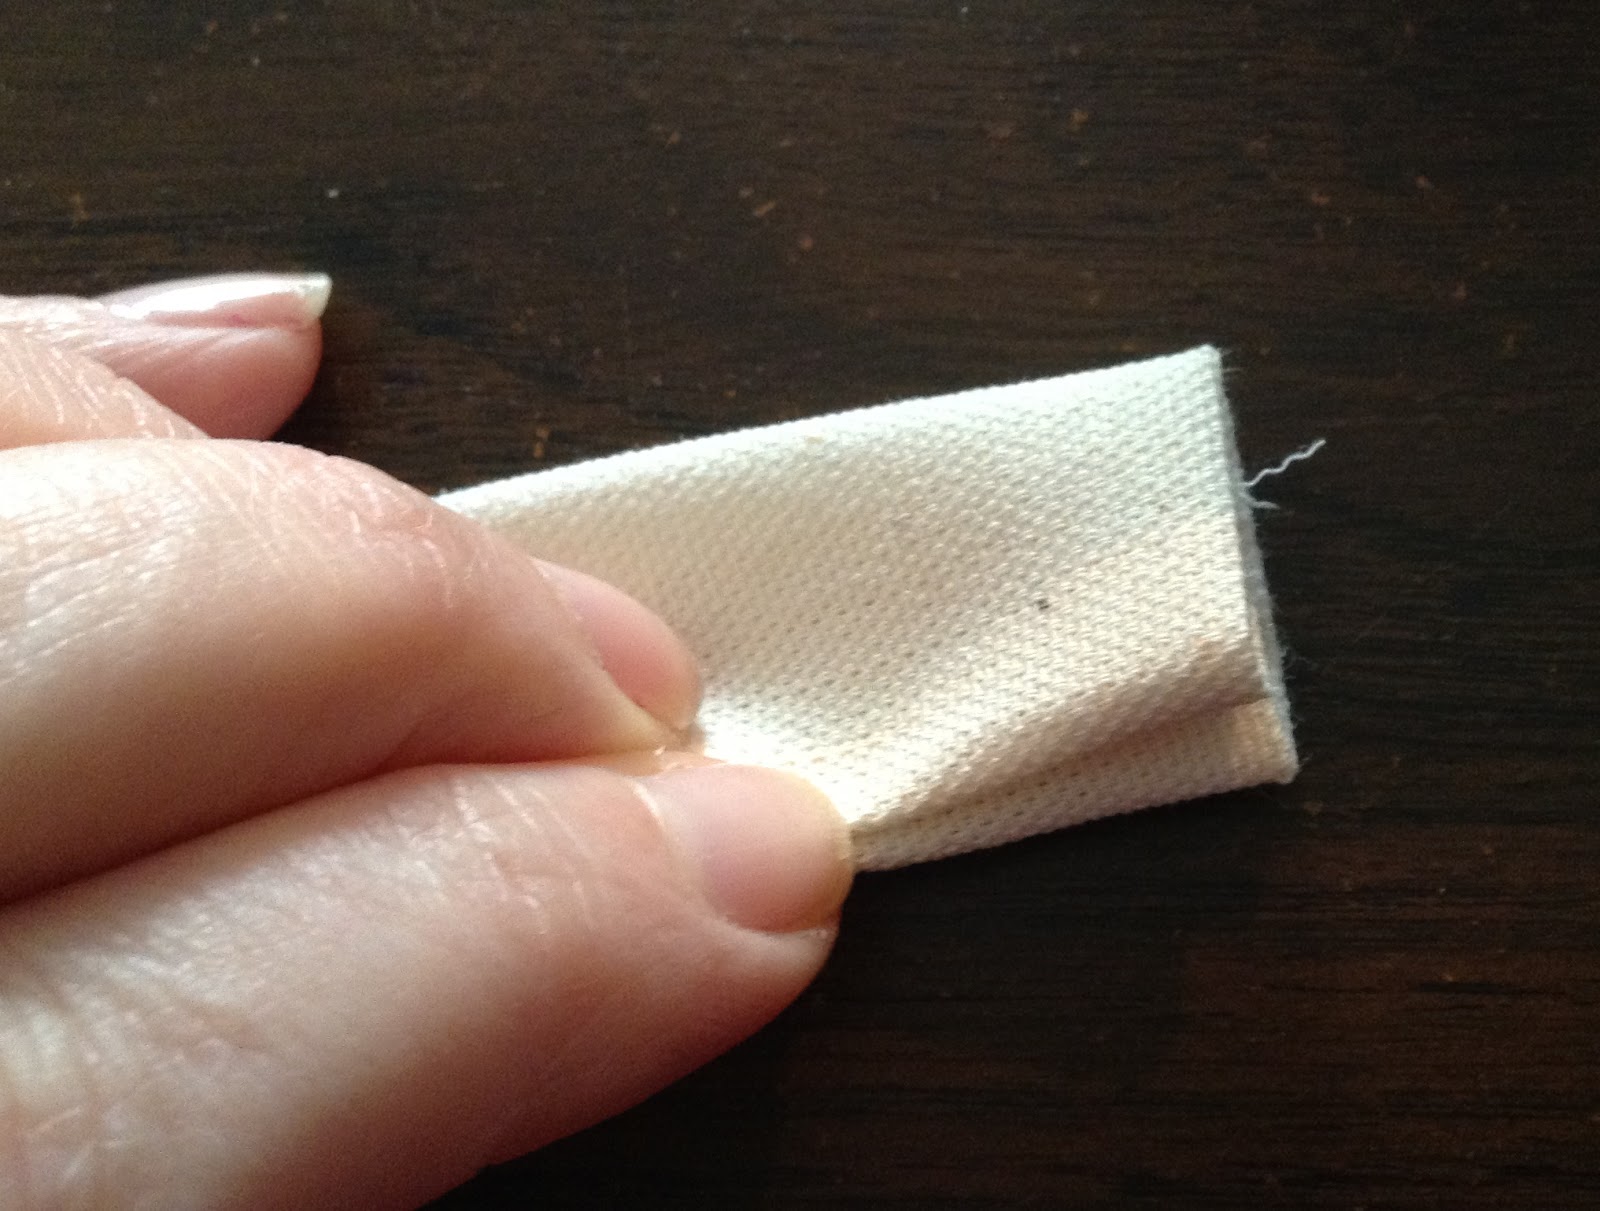
 This, you will snip from the raw edge to the first fold as close to the french seam as possible. (See photo below for finished snip.)

 14. The snipped edge can now be folded under to make the hem on the edge. Do this for both sides.
 15. Sew close to the folded edge beginning about 1/4" - 1/2" before the start of the hem. Back stitch at beginning and end.
 16. Repeat for other side. I went from raw edge to just over the hump on this side.
17. Hem the flap folding 1/4" and then another 1/4" as you did at the very beginning of the bag. (Sorry, I forgot to take a picture of it.)
 18. To sew on the straps, mark 2" down from the top of the fold (of the flap and the back). Line up the strap along the sides and sew along the sides, top and bottom of that 2"x1" rectangle.
Take care that you don't catch the front of the bag under the foot as you sew from the back of the bag.

 Mini Satchel is finished, unless you course you'd like to embellish it. In this case, a strip of leather was wanted on the bottom of the flap.
I would not recommend the leather unless your sewing machine is made to handle really thick fabrics like leather. Otherwise it can burn out your motor.
Below you see about 90 of the 125 bags I made with some help from Emerald (sewing and putting on most of the straps).


If you want to change the dimensions, add 1/2" to the width you want for the cutting width (10-1/2" + 1/2" = 11" width) and take the height you want, multiply by 2, add the length of the flap and add 1" for your cut size (7 + 7 + 5 + 1 = 20).


17. Hem the flap folding 1/4" and then another 1/4" as you did at the very beginning of the bag. (Sorry, I forgot to take a picture of it.)

Take care that you don't catch the front of the bag under the foot as you sew from the back of the bag.


I would not recommend the leather unless your sewing machine is made to handle really thick fabrics like leather. Otherwise it can burn out your motor.
Below you see about 90 of the 125 bags I made with some help from Emerald (sewing and putting on most of the straps).

No comments:
Post a Comment