
 For the March 2016 Michael Miller photo shoot, I made this beautiful skirt from the fabric "Blooming Border." It was loosely based on the Vogue pattern V8980, with many variations - really the waistband and length is what I used. I'll walk you through what I did, sorry I didn't take more photos of the actual process, I wasn't planning on doing a tutorial. I took a few pictures of make shift examples, but know that they are not true representations.
I no longer have the pattern, it was returned, but if I remember correctly, this pattern had two larger than quarter circle pattern pieces for the front to give the fullness, and the back two pieces were more A-line in appearance with the waistline gathered. Well, as you know, cutting a circle out of border fabric will not work to have the pattern along the bottom.


I added the seam allowance along the folded side and cut out 8 quarters skirts panels. If you'd like it fuller than that, you can always cut more panels. I can't remember for certain, but I may have cut 12 or even 16 panels to make it extra full.
*If you have a fuller pattern (like my makeshift pattern piece in the photo above), you could cut the piece into thirds or quarters. Just make sure you have seam allowances on both sides.
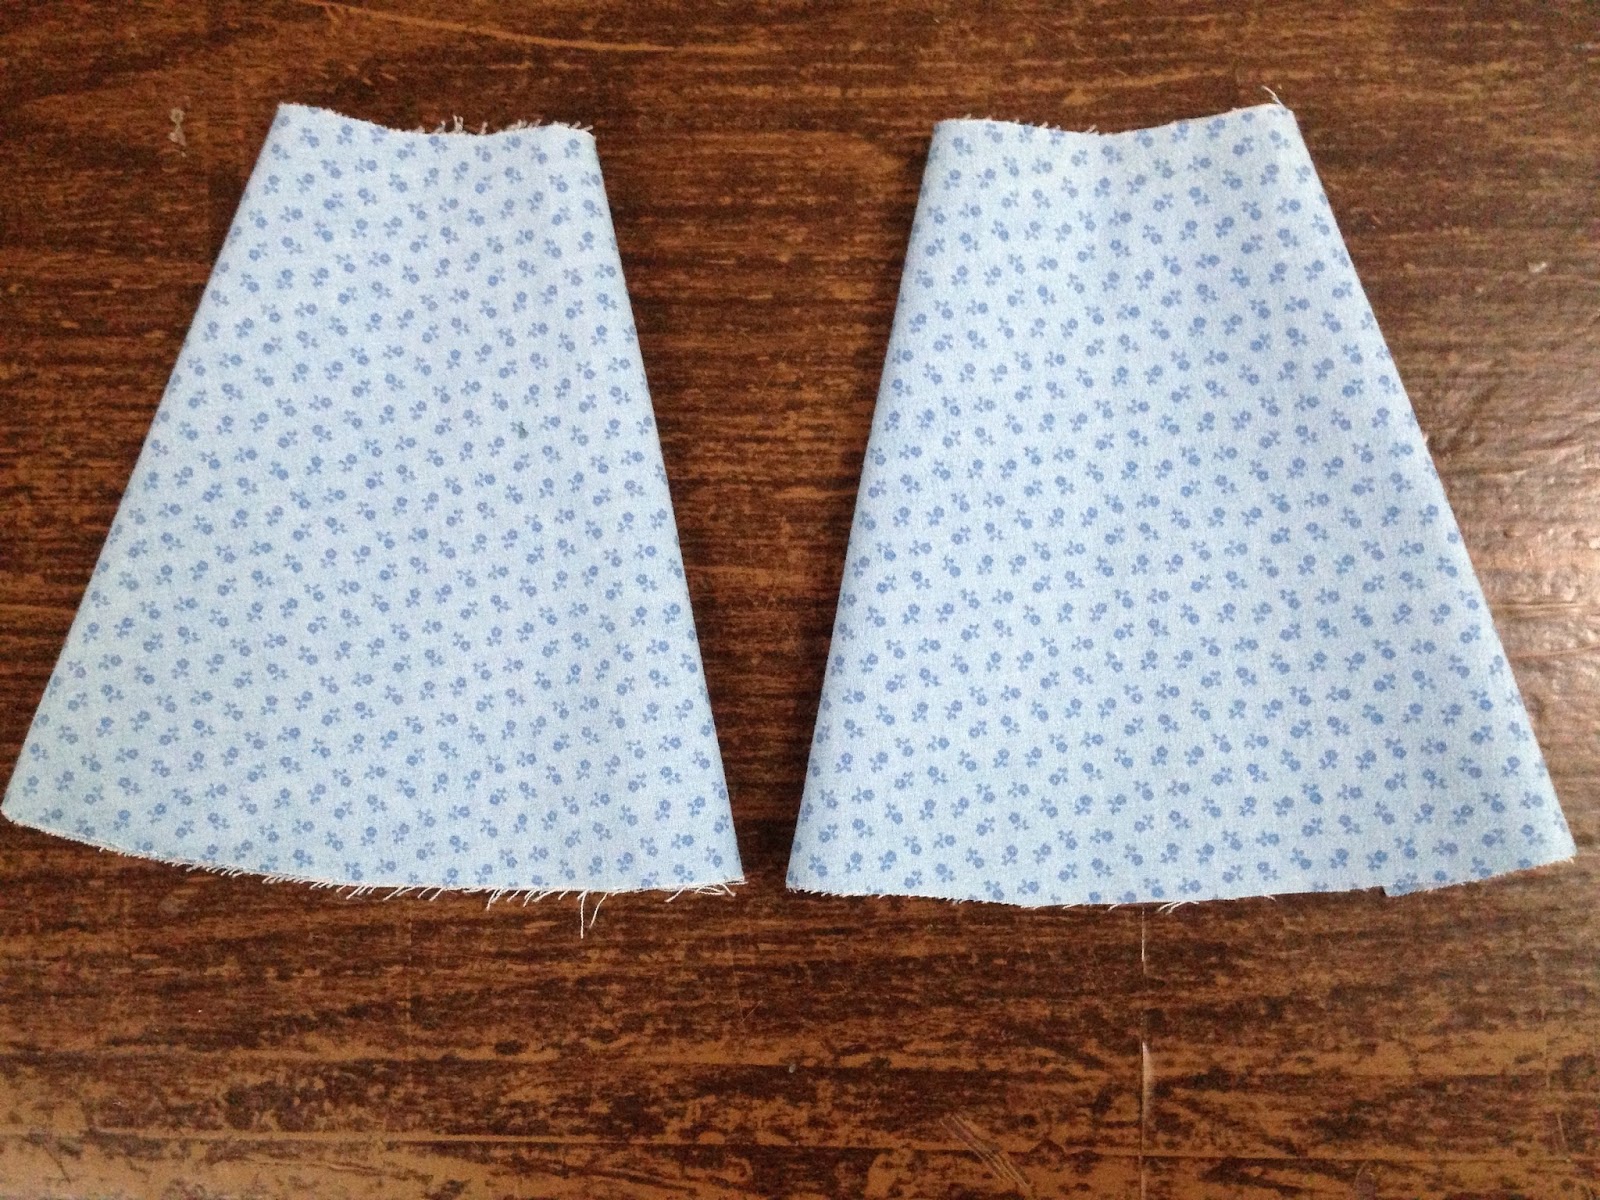
The key is you want to make the skirt panels so the bottom edge of the skirt is straighter so the printed panel on the fabric is seen as much as possible.
In this top picture, the border would loose very little of the pattern on the sides whereas the picture on the bottom would loose a great deal.


Now the pleating. This is one of those things where the explanation sounds worse than it is. I started in the center front. In the photo, you can also see that the size of tuck I took was based on where the seams were. I wanted all the seams to be less visible, so all the pleats are on top of the seams to help hide/disguise them.
The waistband, I used the pattern as a guide. It's normal ruching. Questions, please e-mail me.

No comments:
Post a Comment