I've posted a picture of this in the past, but I've wanted to do a tutorial on how to make it, in case someone else wants to do this. I love this tradition! It is filled with memories. In 2001 or before, I read in either Parents or Family Fun magazine (I'm sorry I can't give the credit where it is due - I've searched my old magazine and can't find it, nor can I find it on-line) someone's idea where they had made a simple white tree skirt with their 2 children's hand prints, in a different color each year, going around the bottom. I was inspired! Though, I had to of course take it a little further. I made it on red Christmas fabric and did the hand prints in gold and silver.
Here's how I do it:
1. I find it always works best when I figure out where the hands are going to go. I usually start with having the kids put their hands on the skirt so both they and I know where they are putting their hands and so we know it fits. Sometimes, when they are going to have to go around or near a hand of someone who's not here at the time, I will mark the place of where their hand will go by putting my hand (or in this case, some cut outs of my hand) in the place so we can work around it.

2. Next I squirt a little acrylic paint into the hand and spread it around with a paint brush. Yes, mine is old and the handle has fallen off, but I still like this one for the task. You might want to warn the kids that the paint feels cold and the paintbrush tickles.
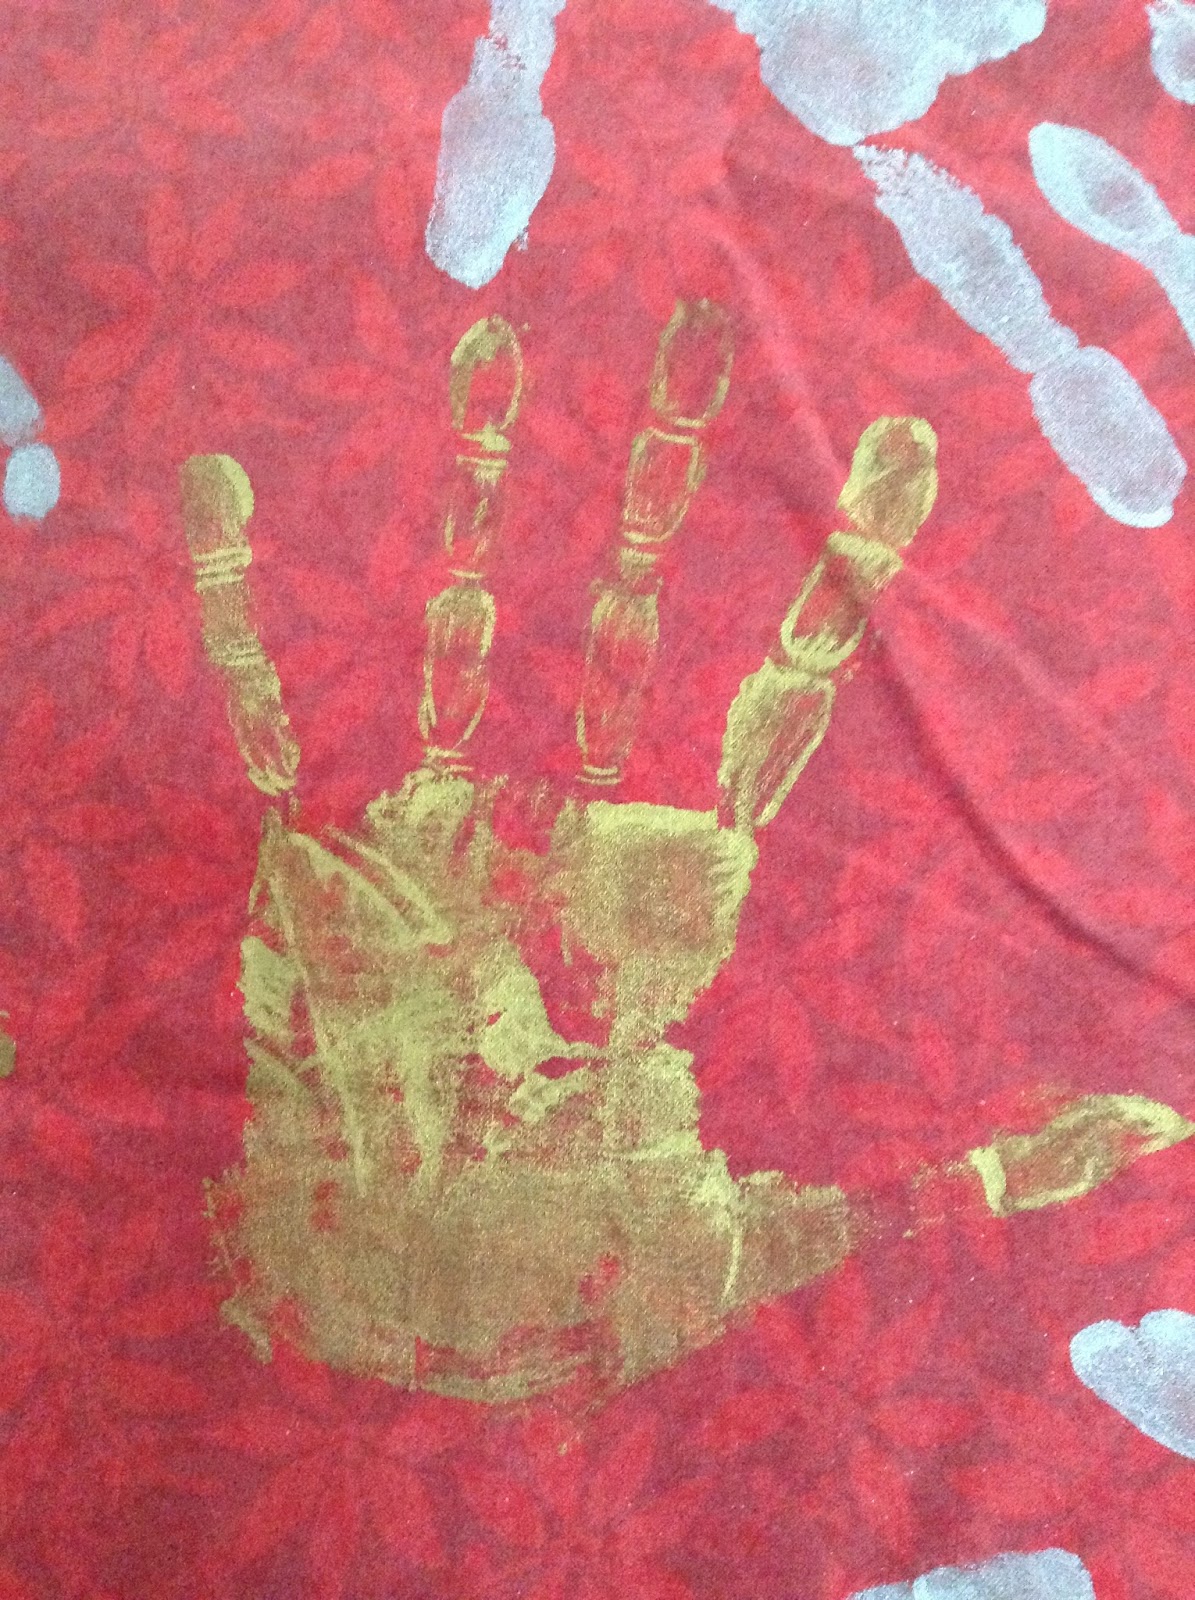
3. Help them, if necessary, to put their hand STRAIGHT DOWN on the cloth. Push it down in all places as best you can, then pull the hand STRAIGHT UP.

4. Et, voila. The hand print. But, wait! It's missing part of the thumb! Not to worry. You can either leave it that way, or use my little cheating method to clean things up a bit. I'll show you in a moment.
5. Before you clean things up, get the rest of the hand prints.
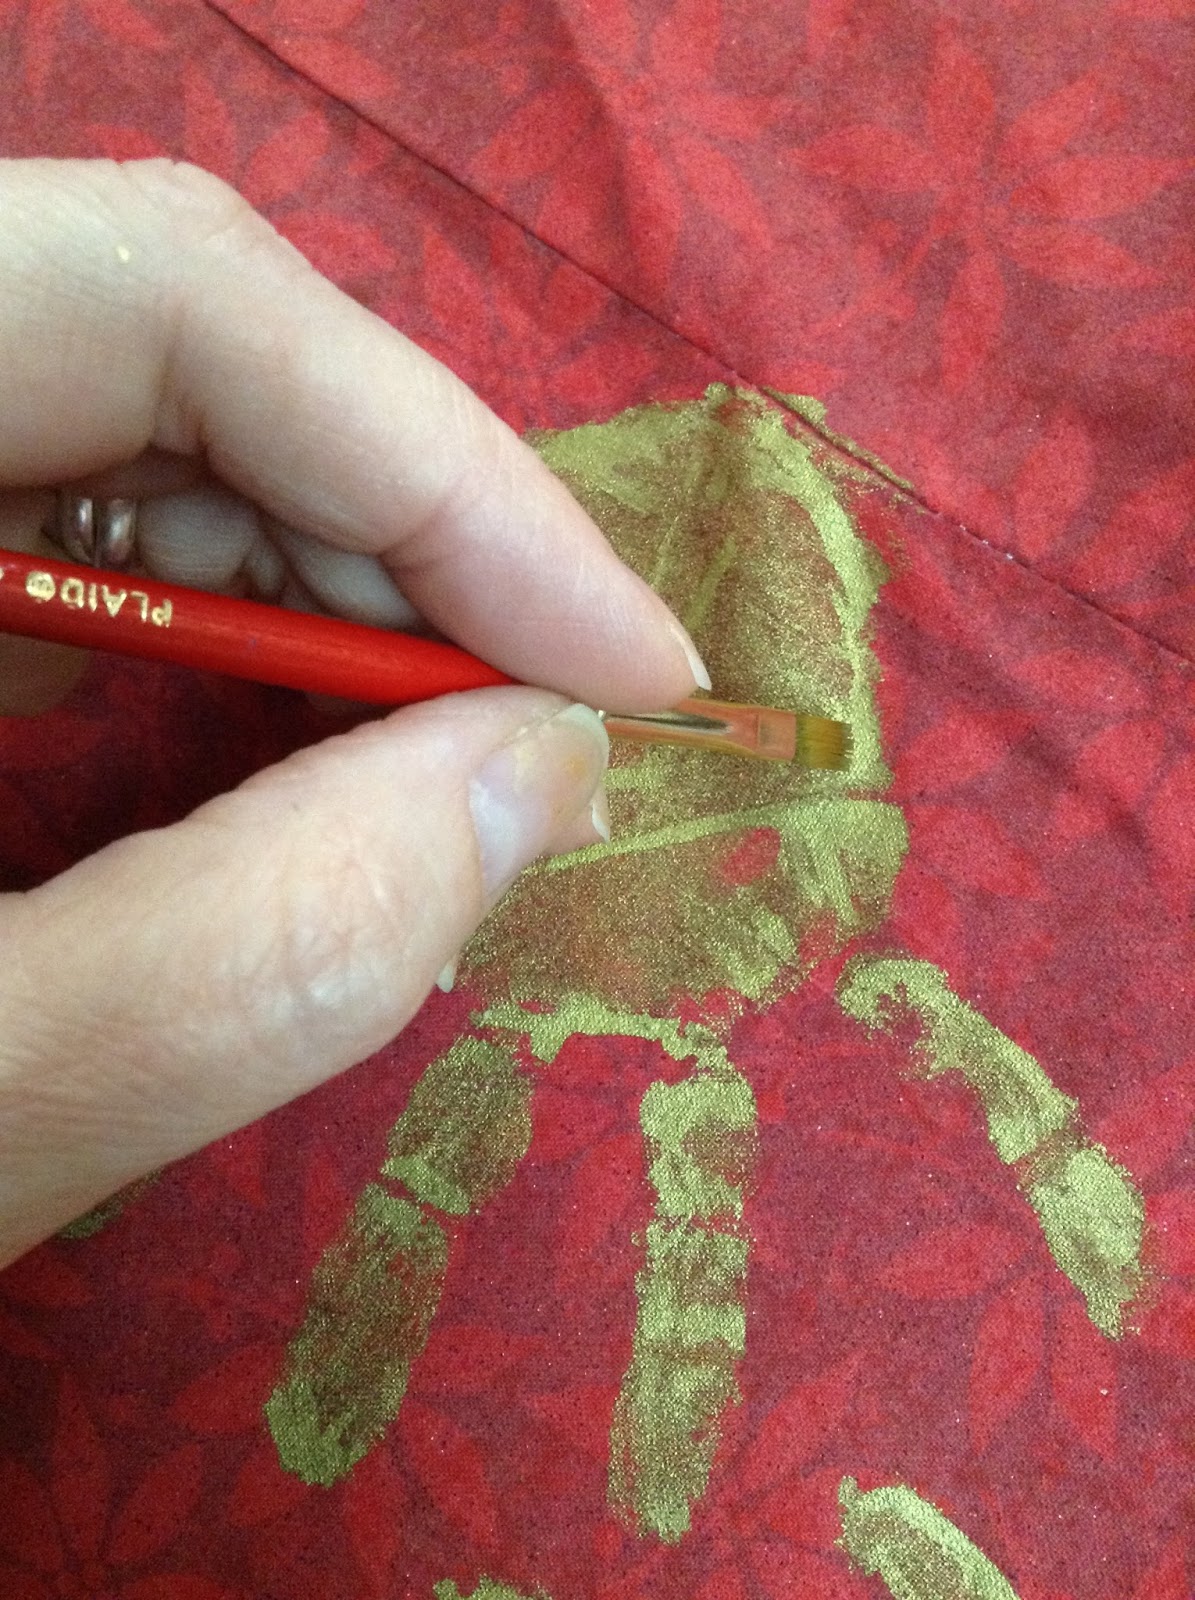
6. I like to have my child write their name and age so it gives it one more characteristic of them at that age, but some of my kids no longer want to do that - they want my neat handwriting. So, no matter who writes it, write it in pencil on the cloth close to their hand print. Paint over it with a thin paintbrush carefully so the handwriting is true to what they wrote.
7. Well, you kind of see it there. Now we're going to start fixing the hand print. First, notice all the dark lines, creases in the skin, etc. and darken them using a thin paintbrush.
Anything darker in the original, paint again. I used both a thin pointed brush and a small flat brush.
Here's one that is definitely going to need some help. As in the fingers, sometimes I add lines that aught to be there, that didn't come out.
And we're making it look more like it's a hand. The first year, I just colored/painted the whole thing where it should have been without darkening the lines and I noticed that I lost some of the character without darkening the lines first, so now I always start with that.
My silver paint doesn't show lines nearly as well. It seems to look more liquid-y than the gold. Not to worry. I still "fix" it to give it the lines and character it deserves. You can still see some faint lines that can be darkened up, or shading near those lines.
Or, in the upside down silver hand print, the "hole" in the middle of
the palm should have some lines around it. Look at your own palm.
There's the life line and love line and age line that should be
somewhere around there. Sometimes I'll add some of them if they seem to need it. I will also extend the fingers all the way to the palm, but leave the part that I add lighter than the original.
I will also darken up the original paint as well, keeping the lines clear and coloring smooth. In other words, I will shade it by take the darkened line on the edge and smooth it into the rest of the hand. I want it to look as much like the original, only darker and clearer if need be.
This one I'm cleaning up, is the first one shown in this tutorial that is missing part of the thumb. The thumb parts I added are not as distinct as the parts that were in the original hand print, but what I added gives continuity.

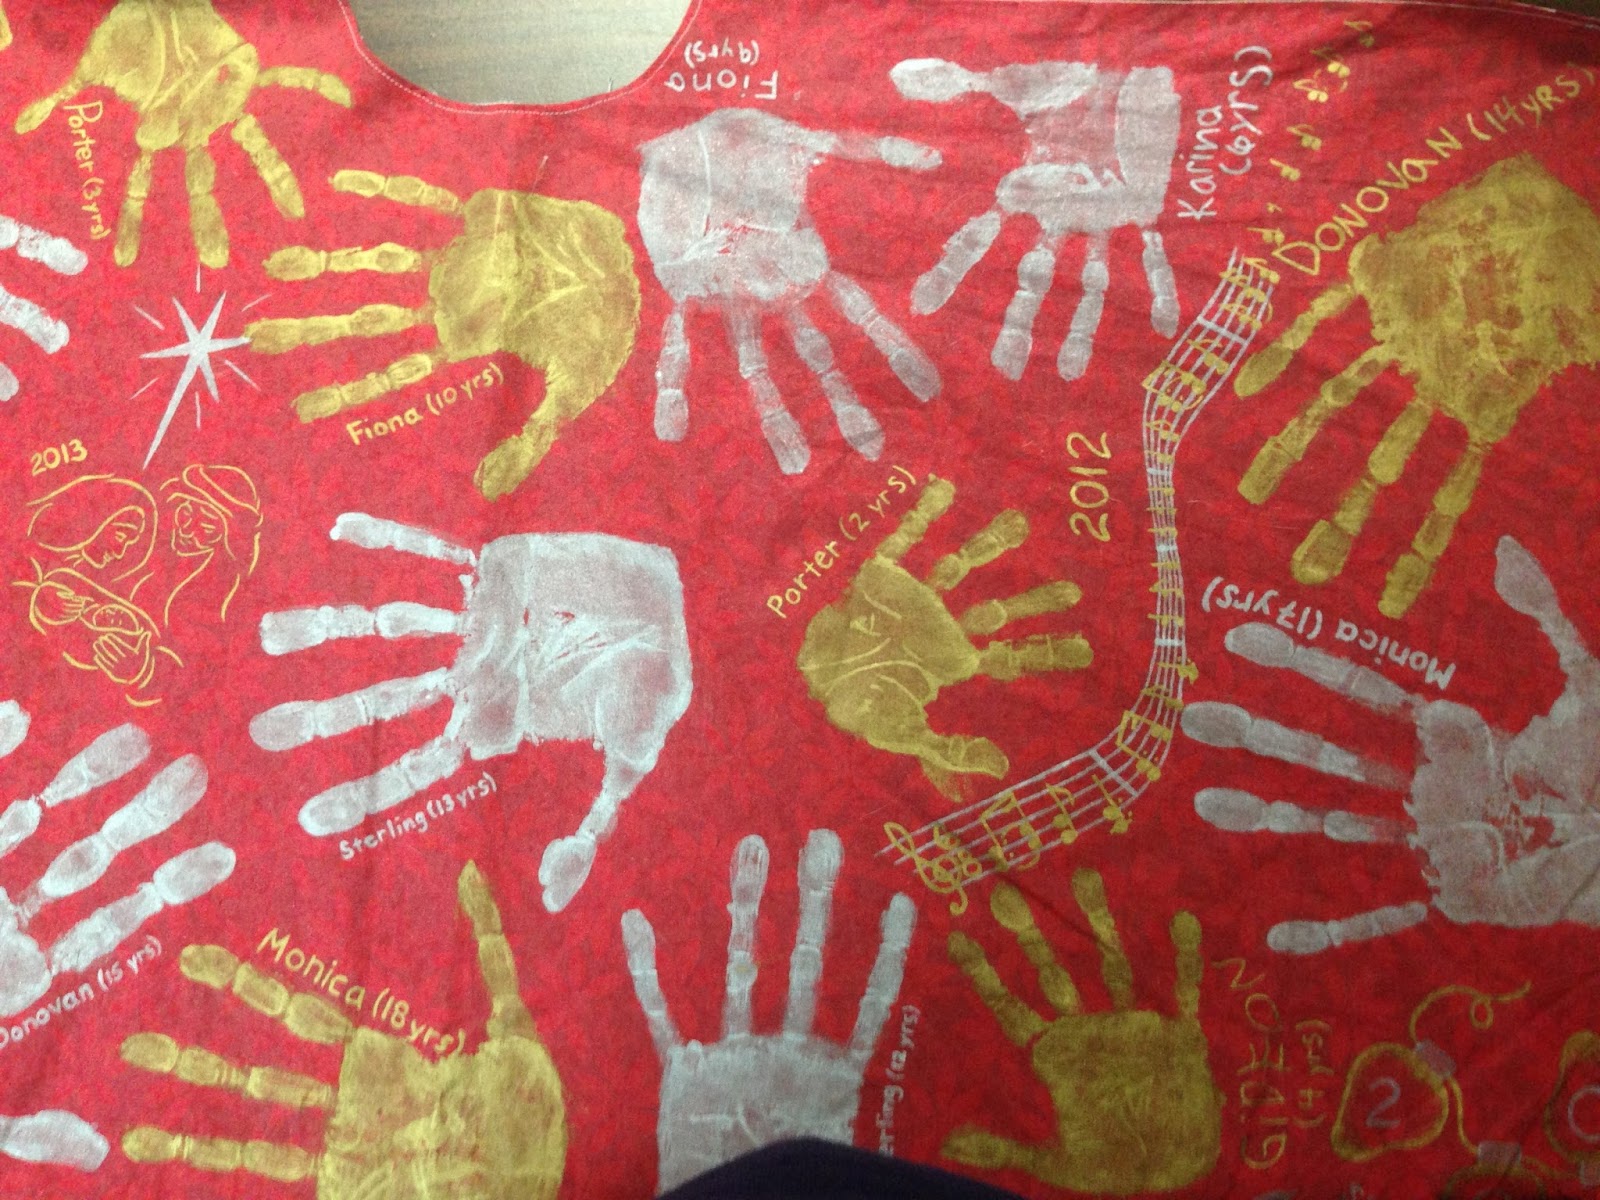
8. I try to leave a little space in the middle of the hands to put the date. Sometimes the space is not very clear and I have to be a little more creative as to how to pull all the hands together to show that they are in one year, but this one has a nice space in the middle for my picture and date. As you see in the pictures down below, I've done different things, some more simple, some more elaborate.
9. I choose my design based on the amount of space I have to use. I look up clip art on the internet, look at ornaments, bells, or just make it up as I go along. I then draw the picture on the fabric with pencil. If I have sought the help of clip art, I will use a light table and trace it, but that's not very easy with the multi toned fabric.
10. Then carefully paint. I have yet to figure out the best way to teach my kids this concept, but painting with a paintbrush is different than drawing with a pencil. You don't push until you have resistance, you put just a small amount on the tip of your brush and very lightly draw with just that tip, always pulling, never pushing forward. Pushing down more as you pull the brush, makes the line thicker, keeping the pressure light gives you a thinner line.
And thar shee be.
Below I posted close up pictures of different parts of the tree skirt so you could see all the little drawings. It unfortunately doesn't show all the hands. My favorite one is off camera in these close up shots - a little tiny 2 week old hand print in 2005. However, you can see it in the top photo - under the gingerbread man.
 As part of the Halloween costume shoot for Michael Miller last September, Trenna asked me to make birds wing. She gave me a link to http://www.burdastyle.com/projects/nattys-birds-of-a-feather-costume and I found the tutorial here: http://nattyjanesews.blogspot.com/search?q=birds+of+a+feather+costume. I varied the layout of colors a bit, but it's basically the same thing. I used the colors of Michael Miller's Cotton Couture fabrics you see on the side. Below, you see the final product.