You, Too, Can Prevent Wavy Borders!

Can you see the waviness in this quilt?

I don't know how well you can see the amount of fullness in this quilt. I have the top straight across, and I've lined up the squares across the belly bar, yet it hangs with more and more fullness as it goes out. How does this happen?

Well, in this case, the piecer is fairly new to quilting and doesn't know how important precise cutting and lining up pieces are. She sews, bless her heart, and "lets the chips fall where they may." Then leaves me to try and make it look good.

I'm guessing she has also heard the "fabulous tip" of sewing the borders on without measuring and then cutting the excess off when you get to the end. This is a fabulous recipe for having wavy borders and a very crooked quilt that the longarmer has to try and fix/cover up.

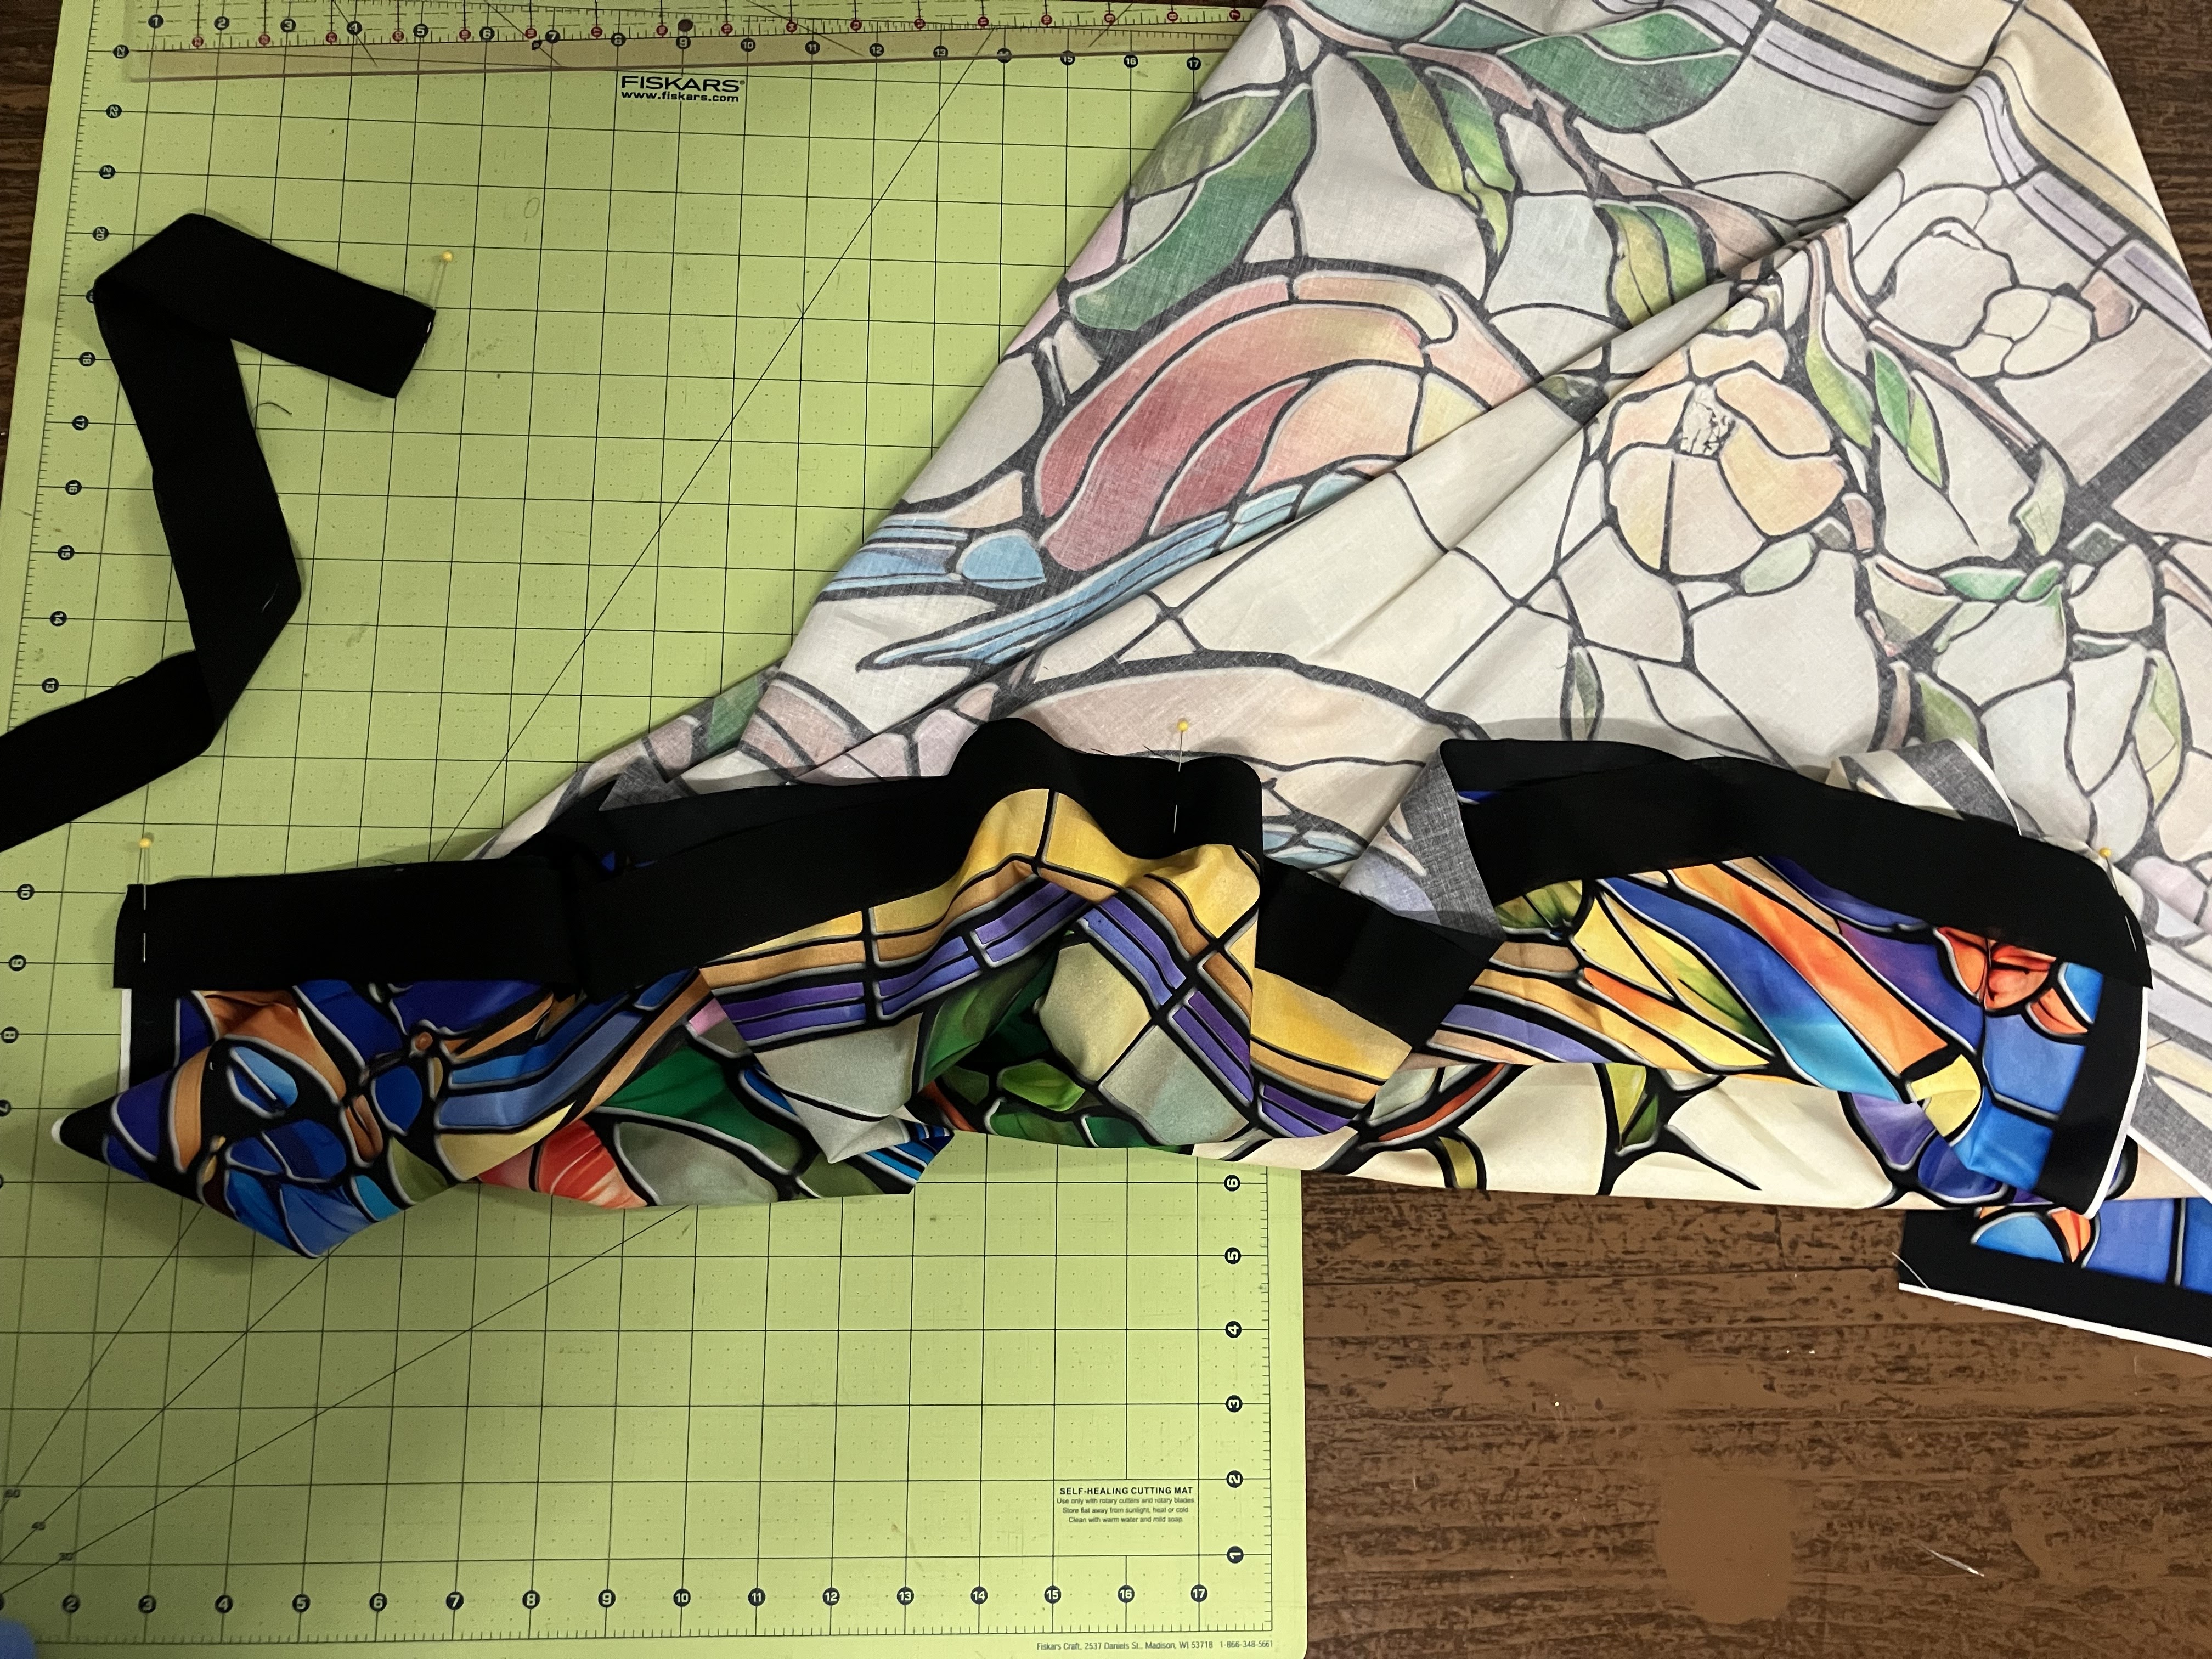
I will say that I can hide a multitude of sins in the quilting, but not everything. Both that first quilt and this one have so much fulness that it is impossible to hide it. Below is one of the worst areas - and even though I was trying to smooth down the fabric, it still looks horrible to my way of thinking. She was perfectly happy with the way it was. I'm not and don't want my name put to it.

So...How does one avoid having a quilt with wavy boarders? I'm so glad you asked. Let me explain the best way to put borders on.

My preference is the easiest border to put on, with overlapped corners. This is when you sew the two side borders first, then sew the top and bottom borders on. However, the trick lies in finding the right size to cut the borders.

Lay the center part of the quilt on a flat surface (a rug is great because the fabric clings to it and it easier to get a more accurate measurement as you smooth out the fabric without stretching). Smooth, smooth, smooth until it's as flat and straight as possible. If your quilt is made up of squares on-point or other biases side to side or top to bottom, remember to smooth diagonally as well.
Measure across the CENTER of the central portion of the quilt (in this case, the panel) top to bottom. This is the length you need for your side borders. This can be done with a measuring tape (as pictured above) or by using the border strips as your measuring tape as shown below. Both parallel borders need to be the exact same length.


Find the center of the border by folding in half. Put a pin in that fold. Find the center of the quilt in the same way OR if it is pieced with the same size squares, you could find the center seam or fold the center block in half to get the center. This last one works if you are a careful piecer. If you sew more randomly, you better use the first method.
Match the center pin of the quilt with the center pin of the border and repin in that spot, connecting the two. Match edge of the border with the edge of the center portion, pin, then do the same with the bottom edge and border. For something this small, those 3 anchor points may be enough, but if it's longer, or if you prefer more anchors, subdivide both the borders and quilt top in quarters (by matching the end to the center pin to find the quarter mark, etc).

Ease any fullness in as you sew. If either the center or border is obviously longer than the other, sew with that side on the bottom so the feed dogs can help ease in the fullness.

Press the seam allowance towards the border.

Now back to the floor to measure side to side, including the borders you just added in your measurement. Again, do this with the border strip fabric or measuring tape, whichever gets you a more accurate measurement. Always best to measure twice and cut once. I like to see how these numbers match up with my math, as well.

In the end, I had to refigure some of the outer border numbers because the seminole border figures were slightly off by a bit. Those borders were on the bias, which always makes things interesting. However, comparing my numbers helps me know what I had anticipated and gives me a place to jot down new numbers.
If you have multiple borders to add, continue by repeating what you did above. You got this!

The true test - when you smooth it out on the floor, does it lie flat? Are sides across from each other the same length? Well, done.

And as a longarmer, Thank You! for taking the time to make your quilts flat and squared up.
No comments:
Post a Comment